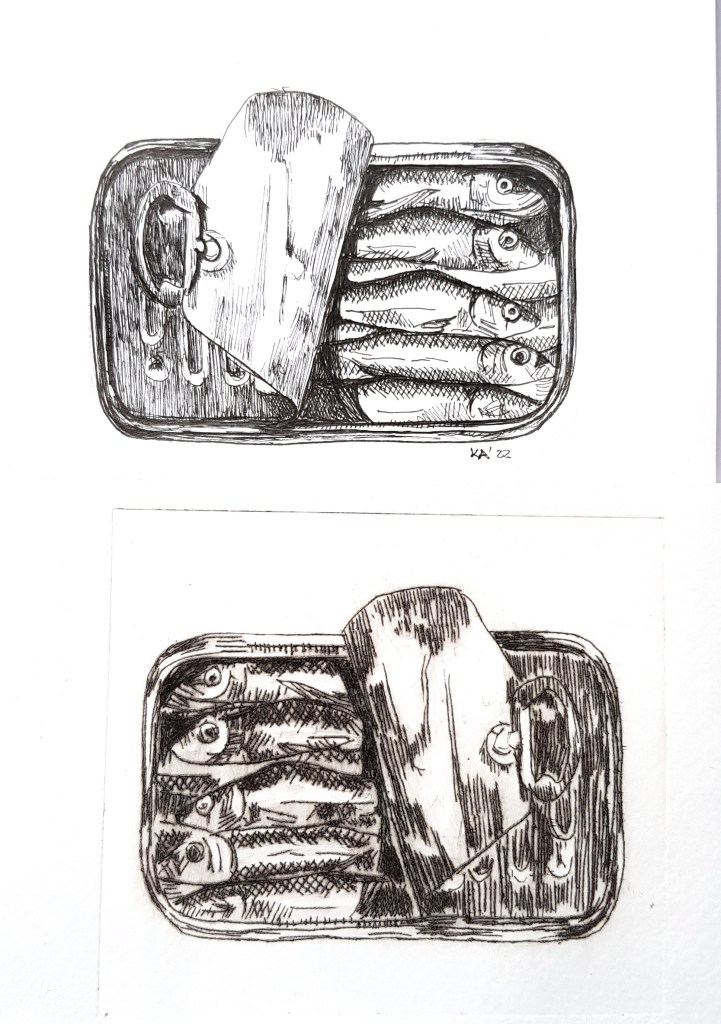
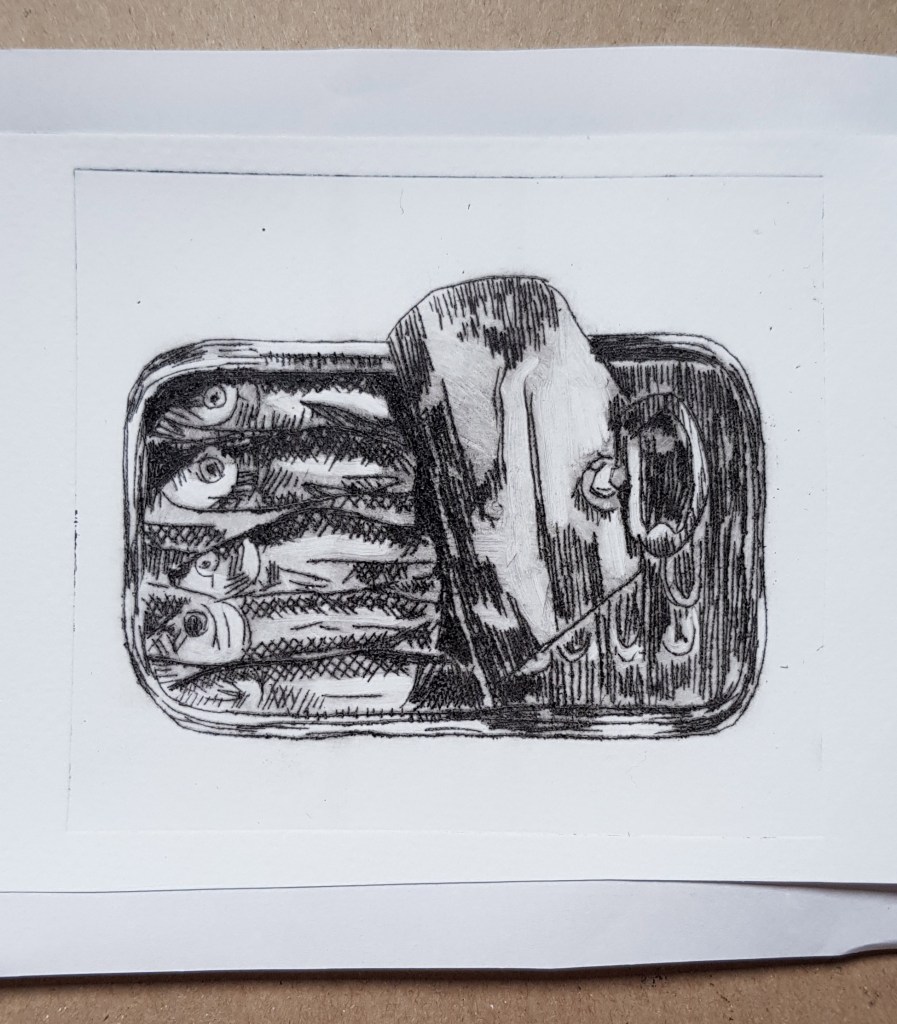
This printing process is called drypoint printing. Drypoint is a printing technique, where an image is engraved with a sharp point tool into a material such as metal or plastic. When the ink is rubbed over the engraved lines, the ink lies in the grooves of these lines while the rest is rubbed away.
This is a fun way to print at home without an etching press and a wonderful way to recycle plastic from food containers.
What you need:
- Sketch/photograph
- Plastic from a food container
- Washi tape or sensitive masking tape: too strong masking tape might tear the surface of your sketch paper or image
- Etching tool or craft knife
- Watercolor paper
- Rectangular bowl with water
- Plastic gloves
- Etching ink
- Soft cotton fabric like cheese cloth
- Kitchen towel
- A few cotton swabs
- Paper (it can be printing paper or unprinted newspaper)
- Cardboard from cereal box
- Pasta machine, mounted firmly on a table
Method:
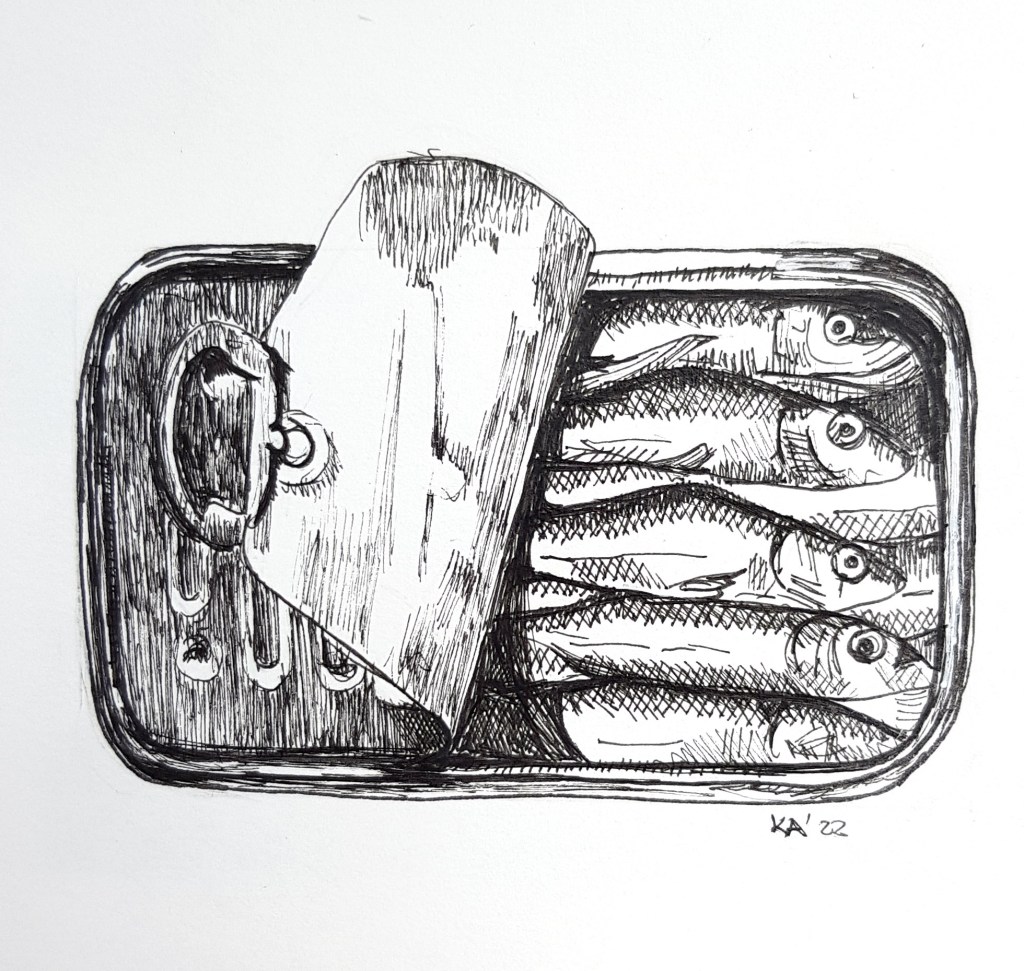
- Make a sketch on paper or in your sketchbook or use a picture or photograph. REMEMBER: your image is going to print as a mirror image.
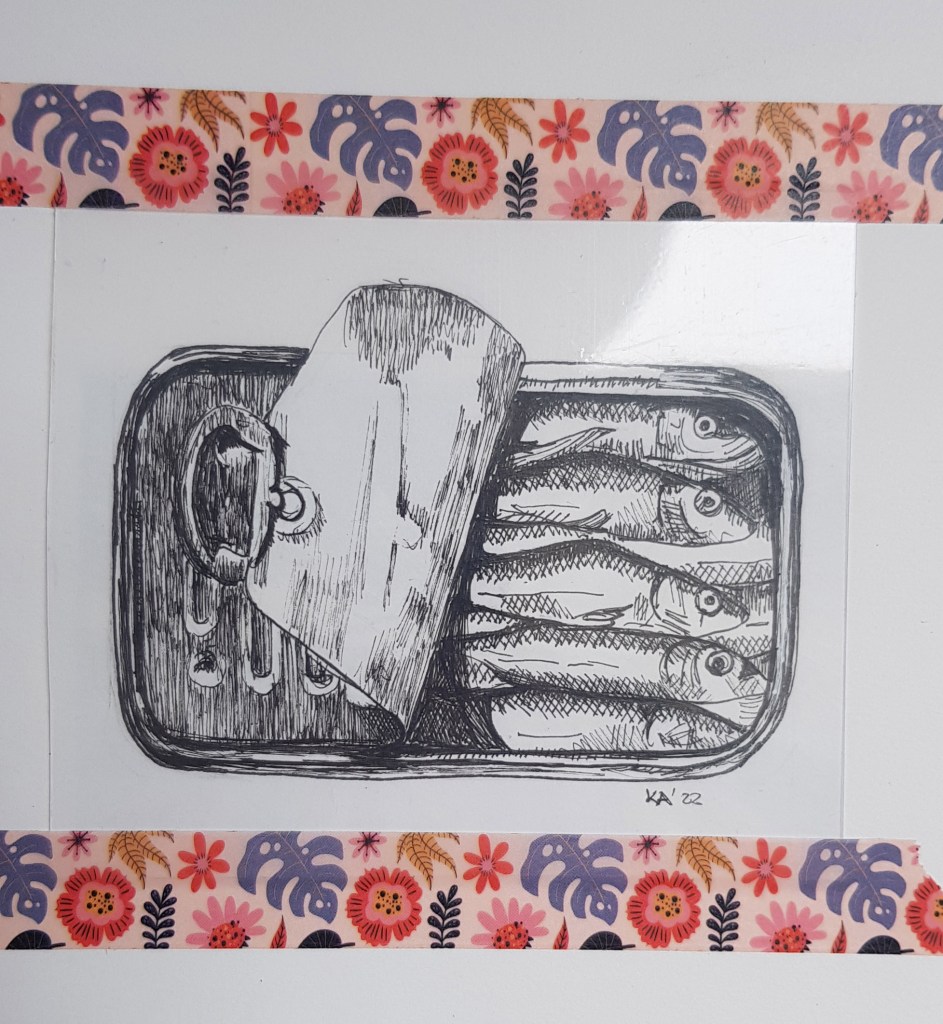
2. Cut a piece of plastic the size of the image – when you cut it slightly larger than the image, it will have more space around the image.
3. Stick the plastic with washi tape/sensitive tape onto the image or sketch to keep it in place while you trace it.
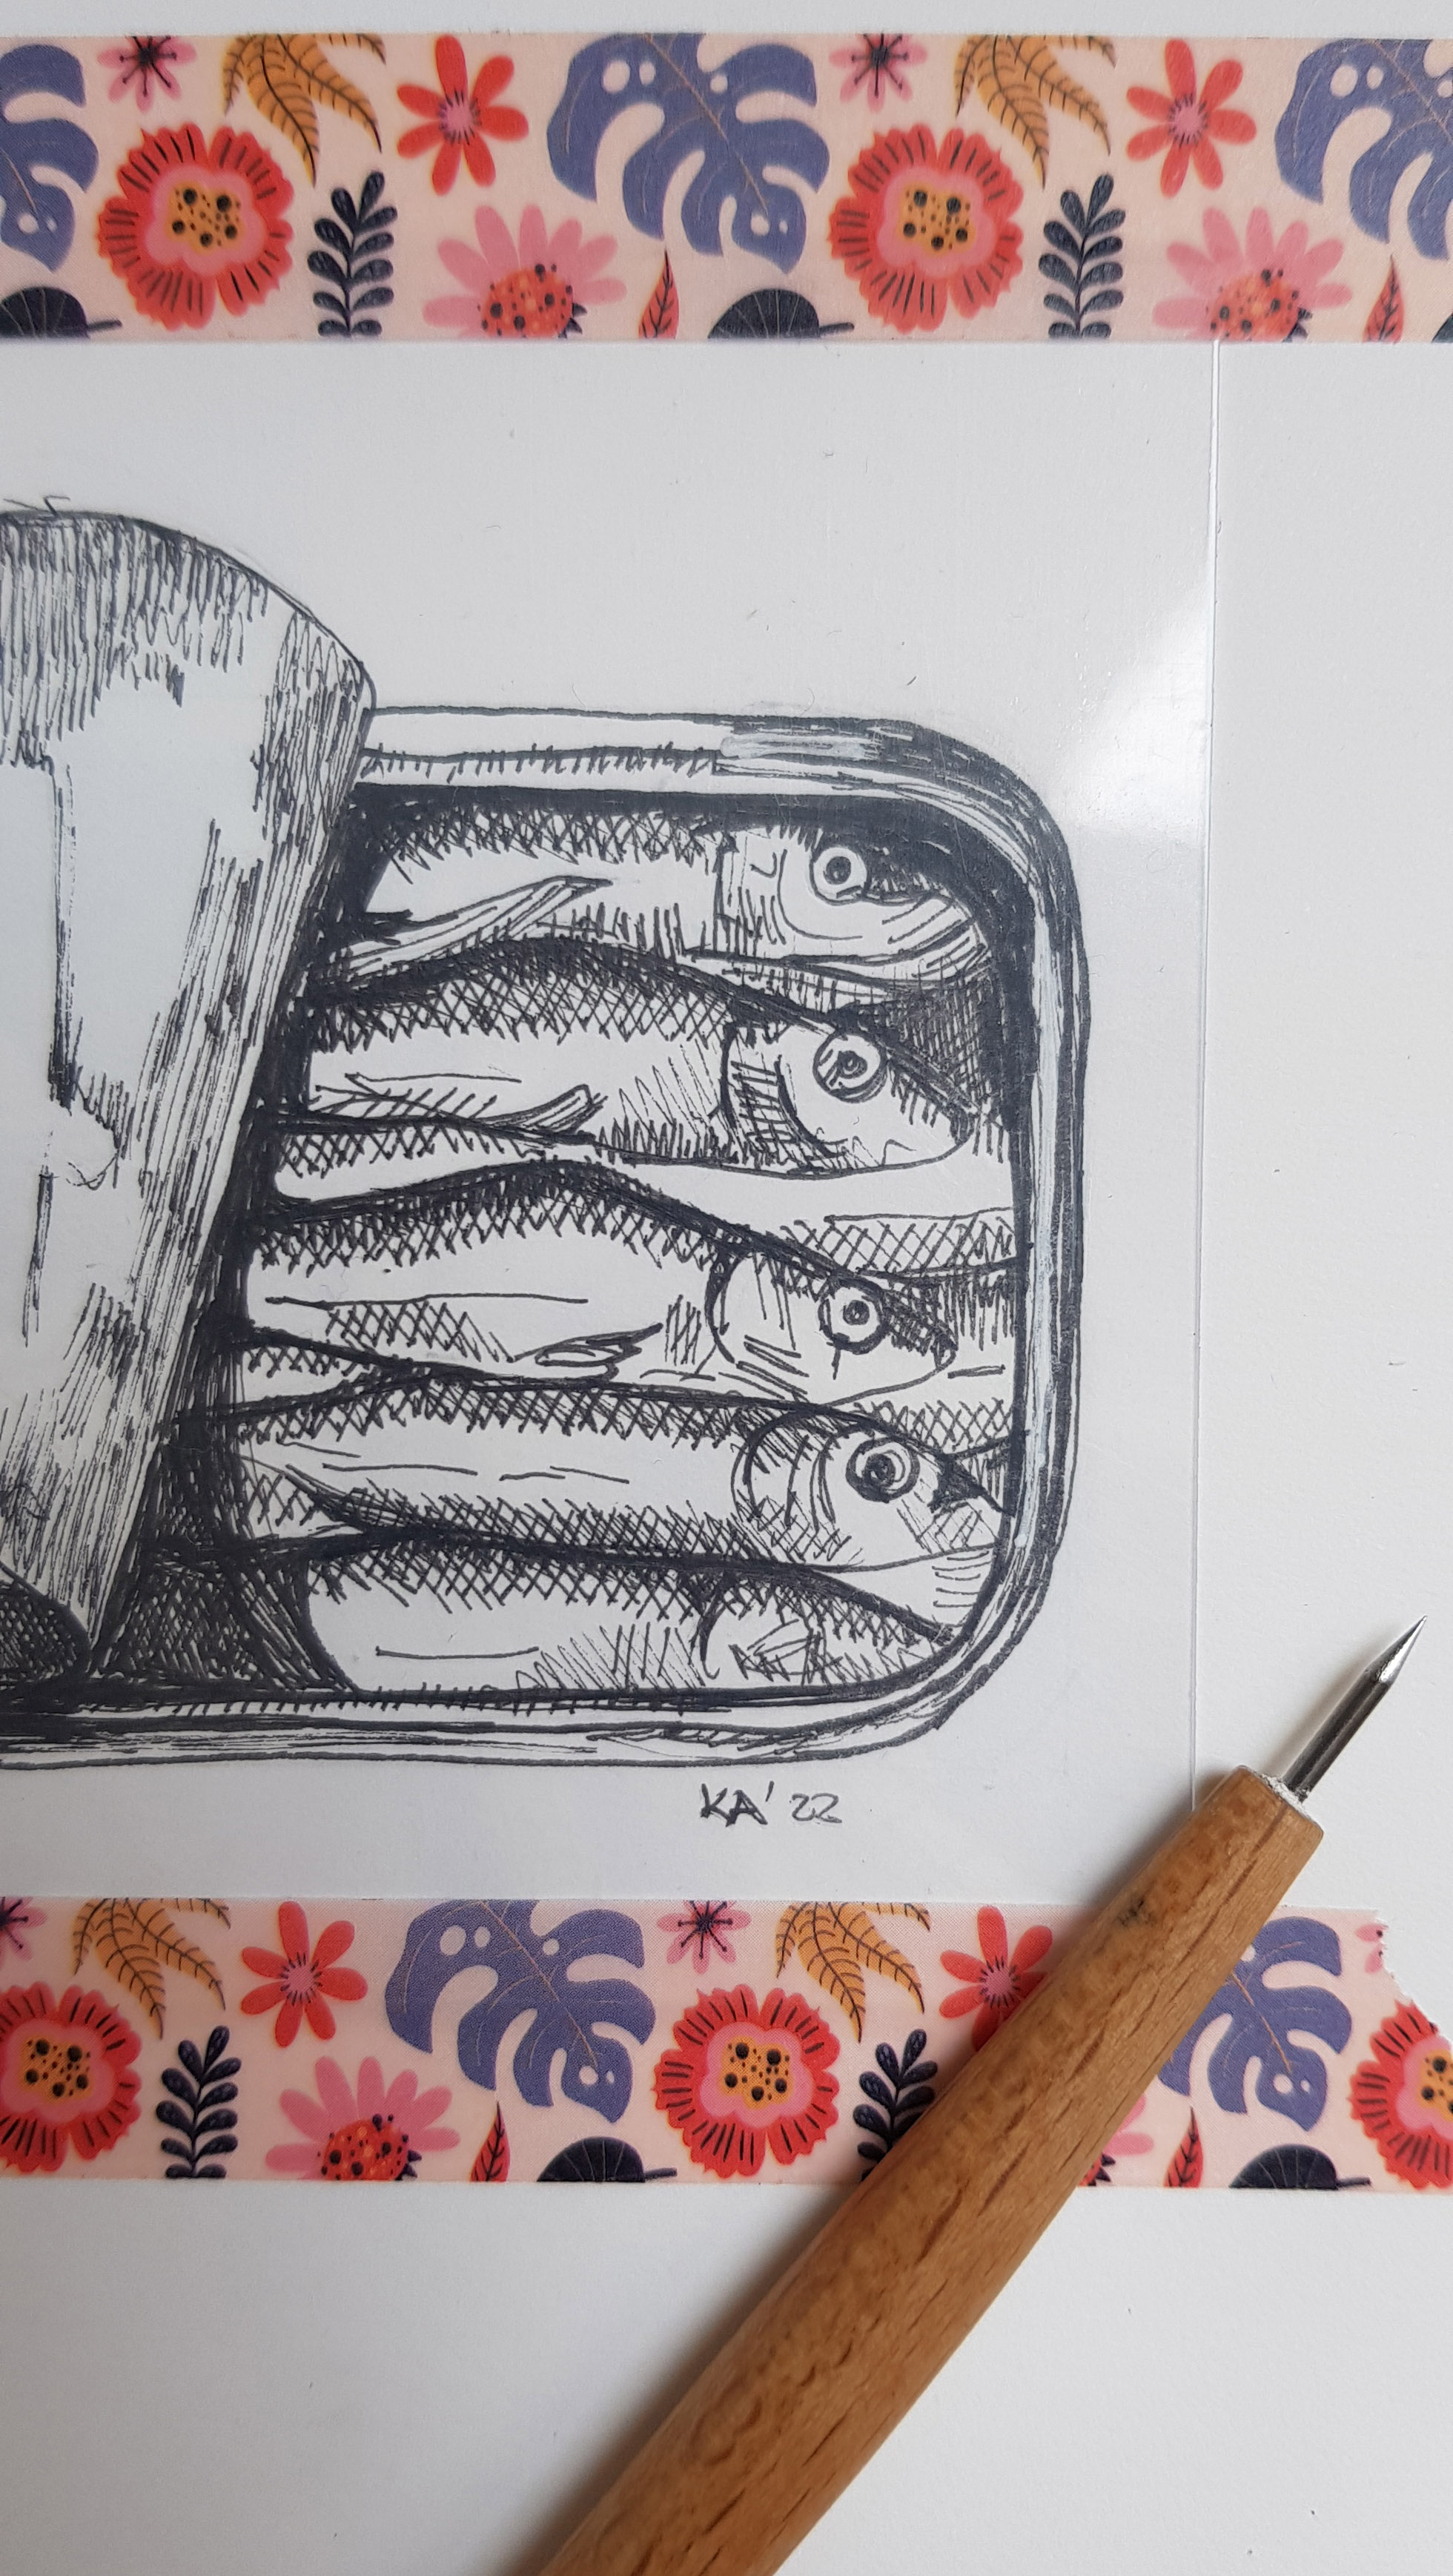
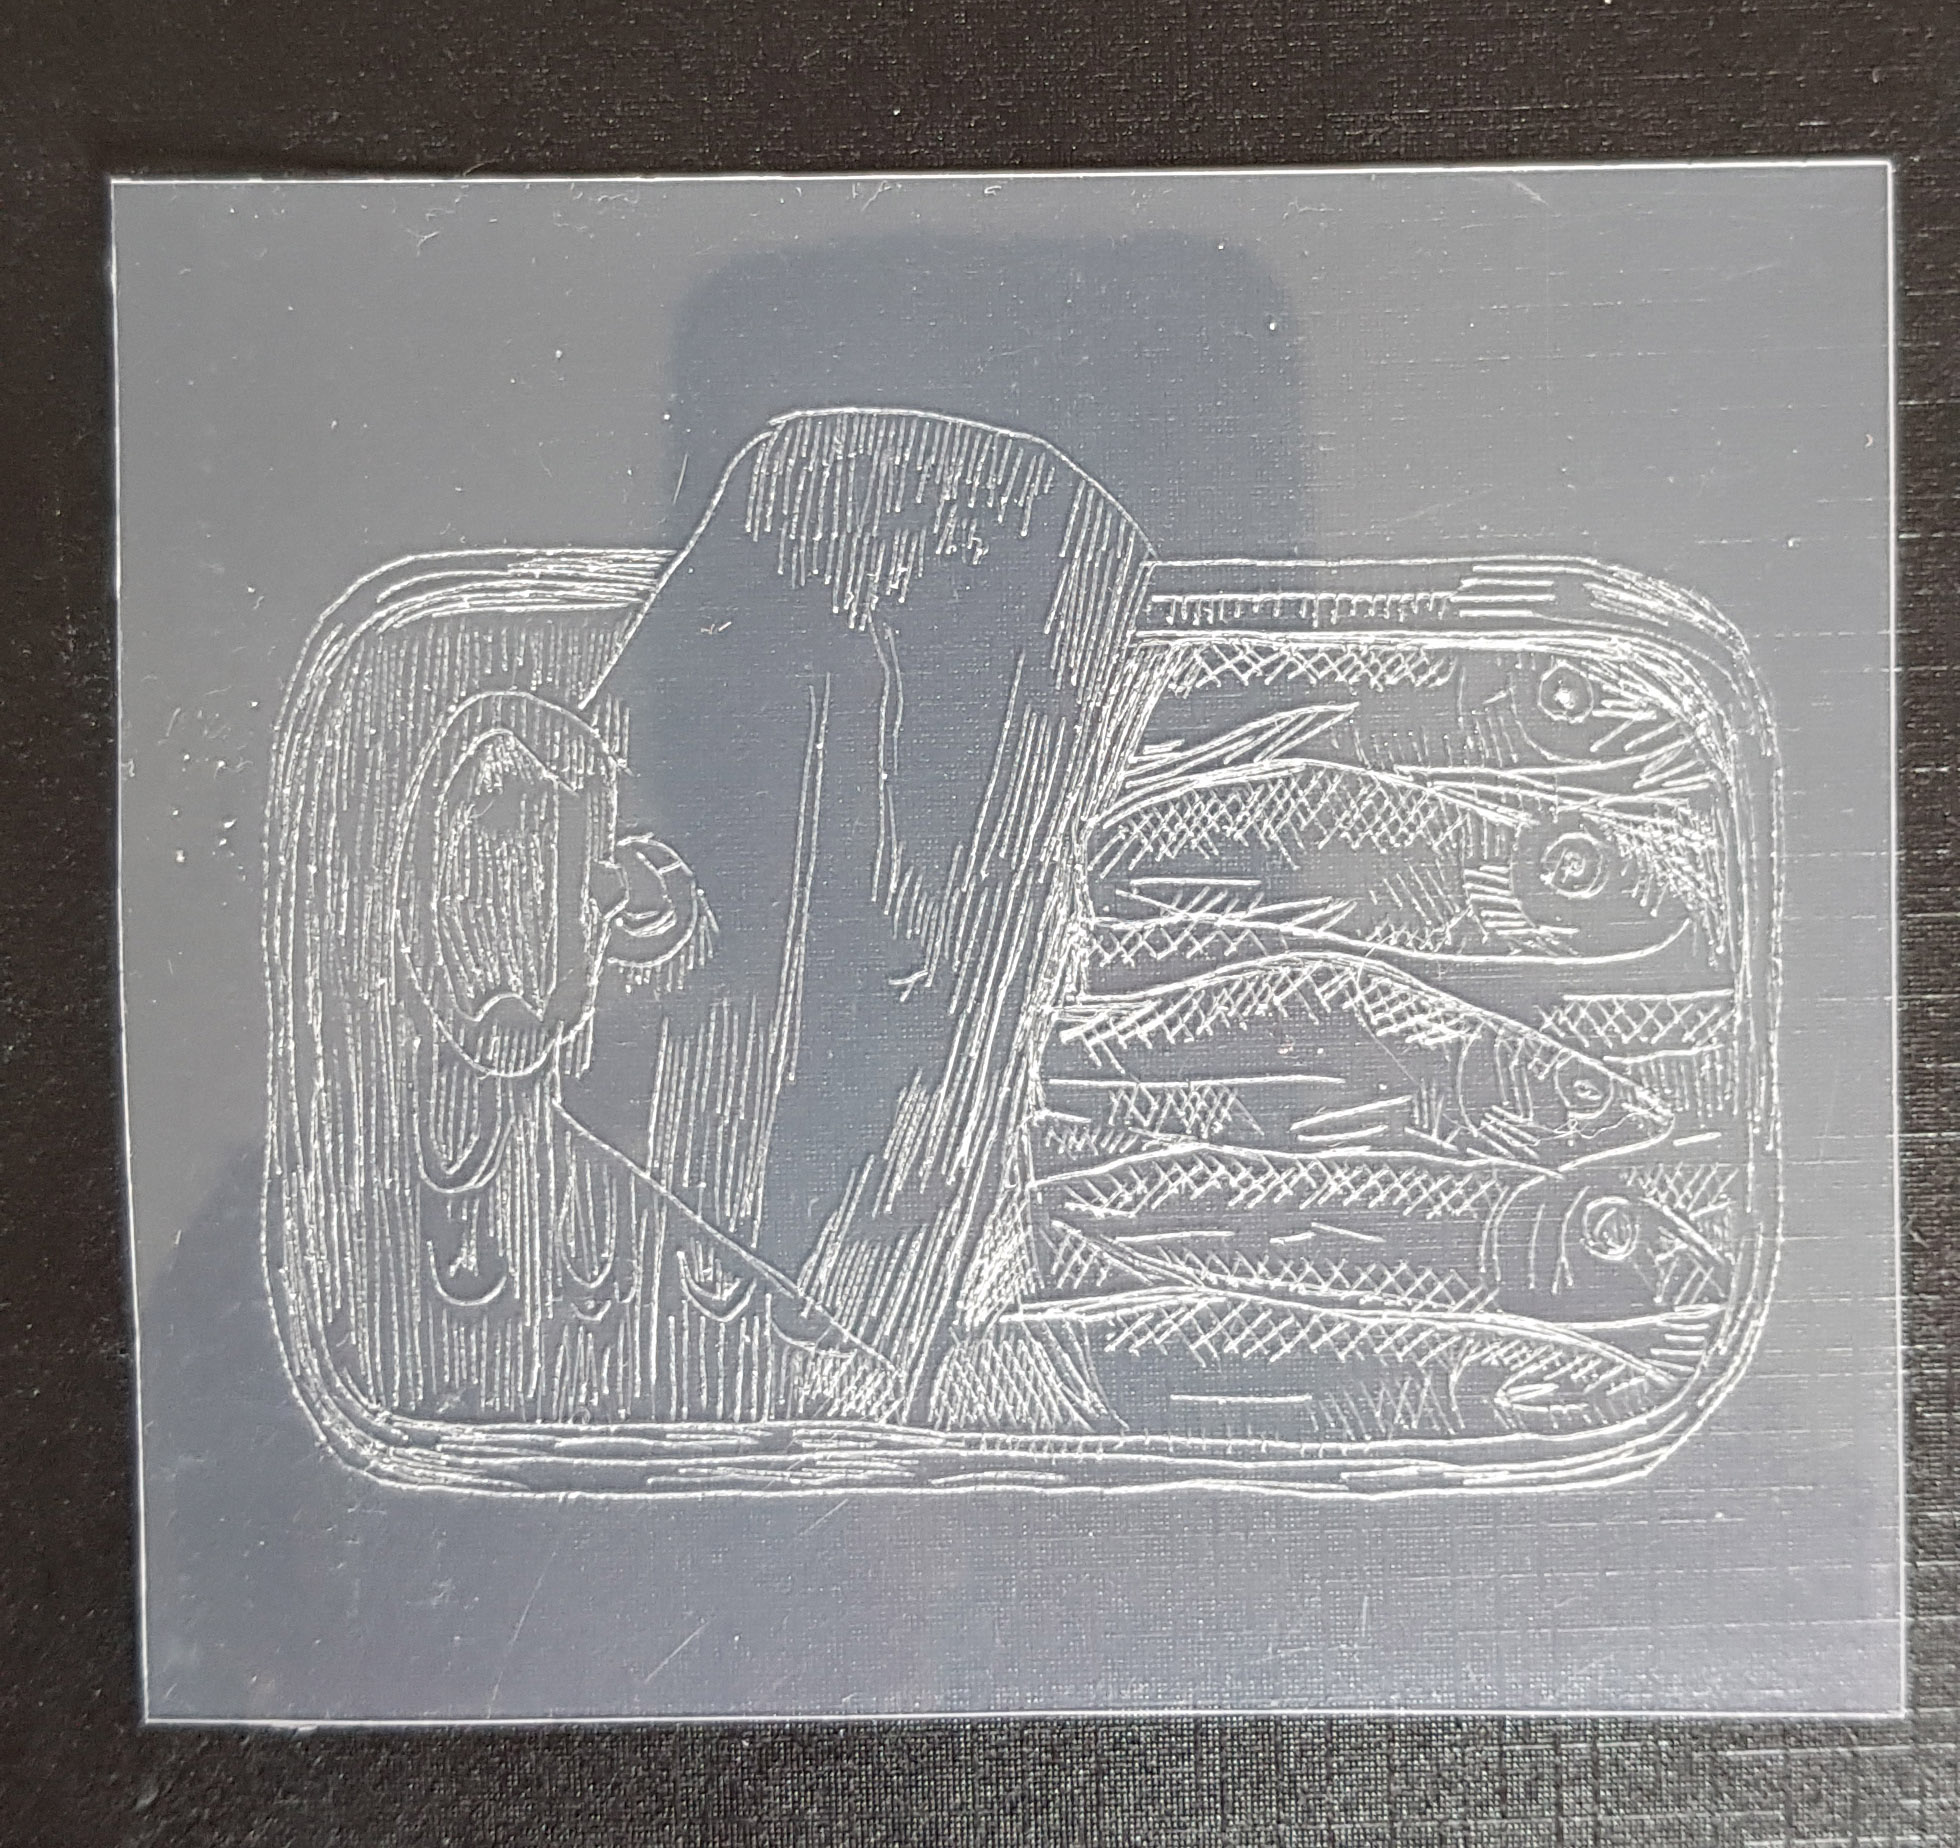
3. Use the etching tool or the sharp point of a craft knife and make engravings into the plastic along your black sketch lines. If you want dark areas, make small cross-hatched engravings.
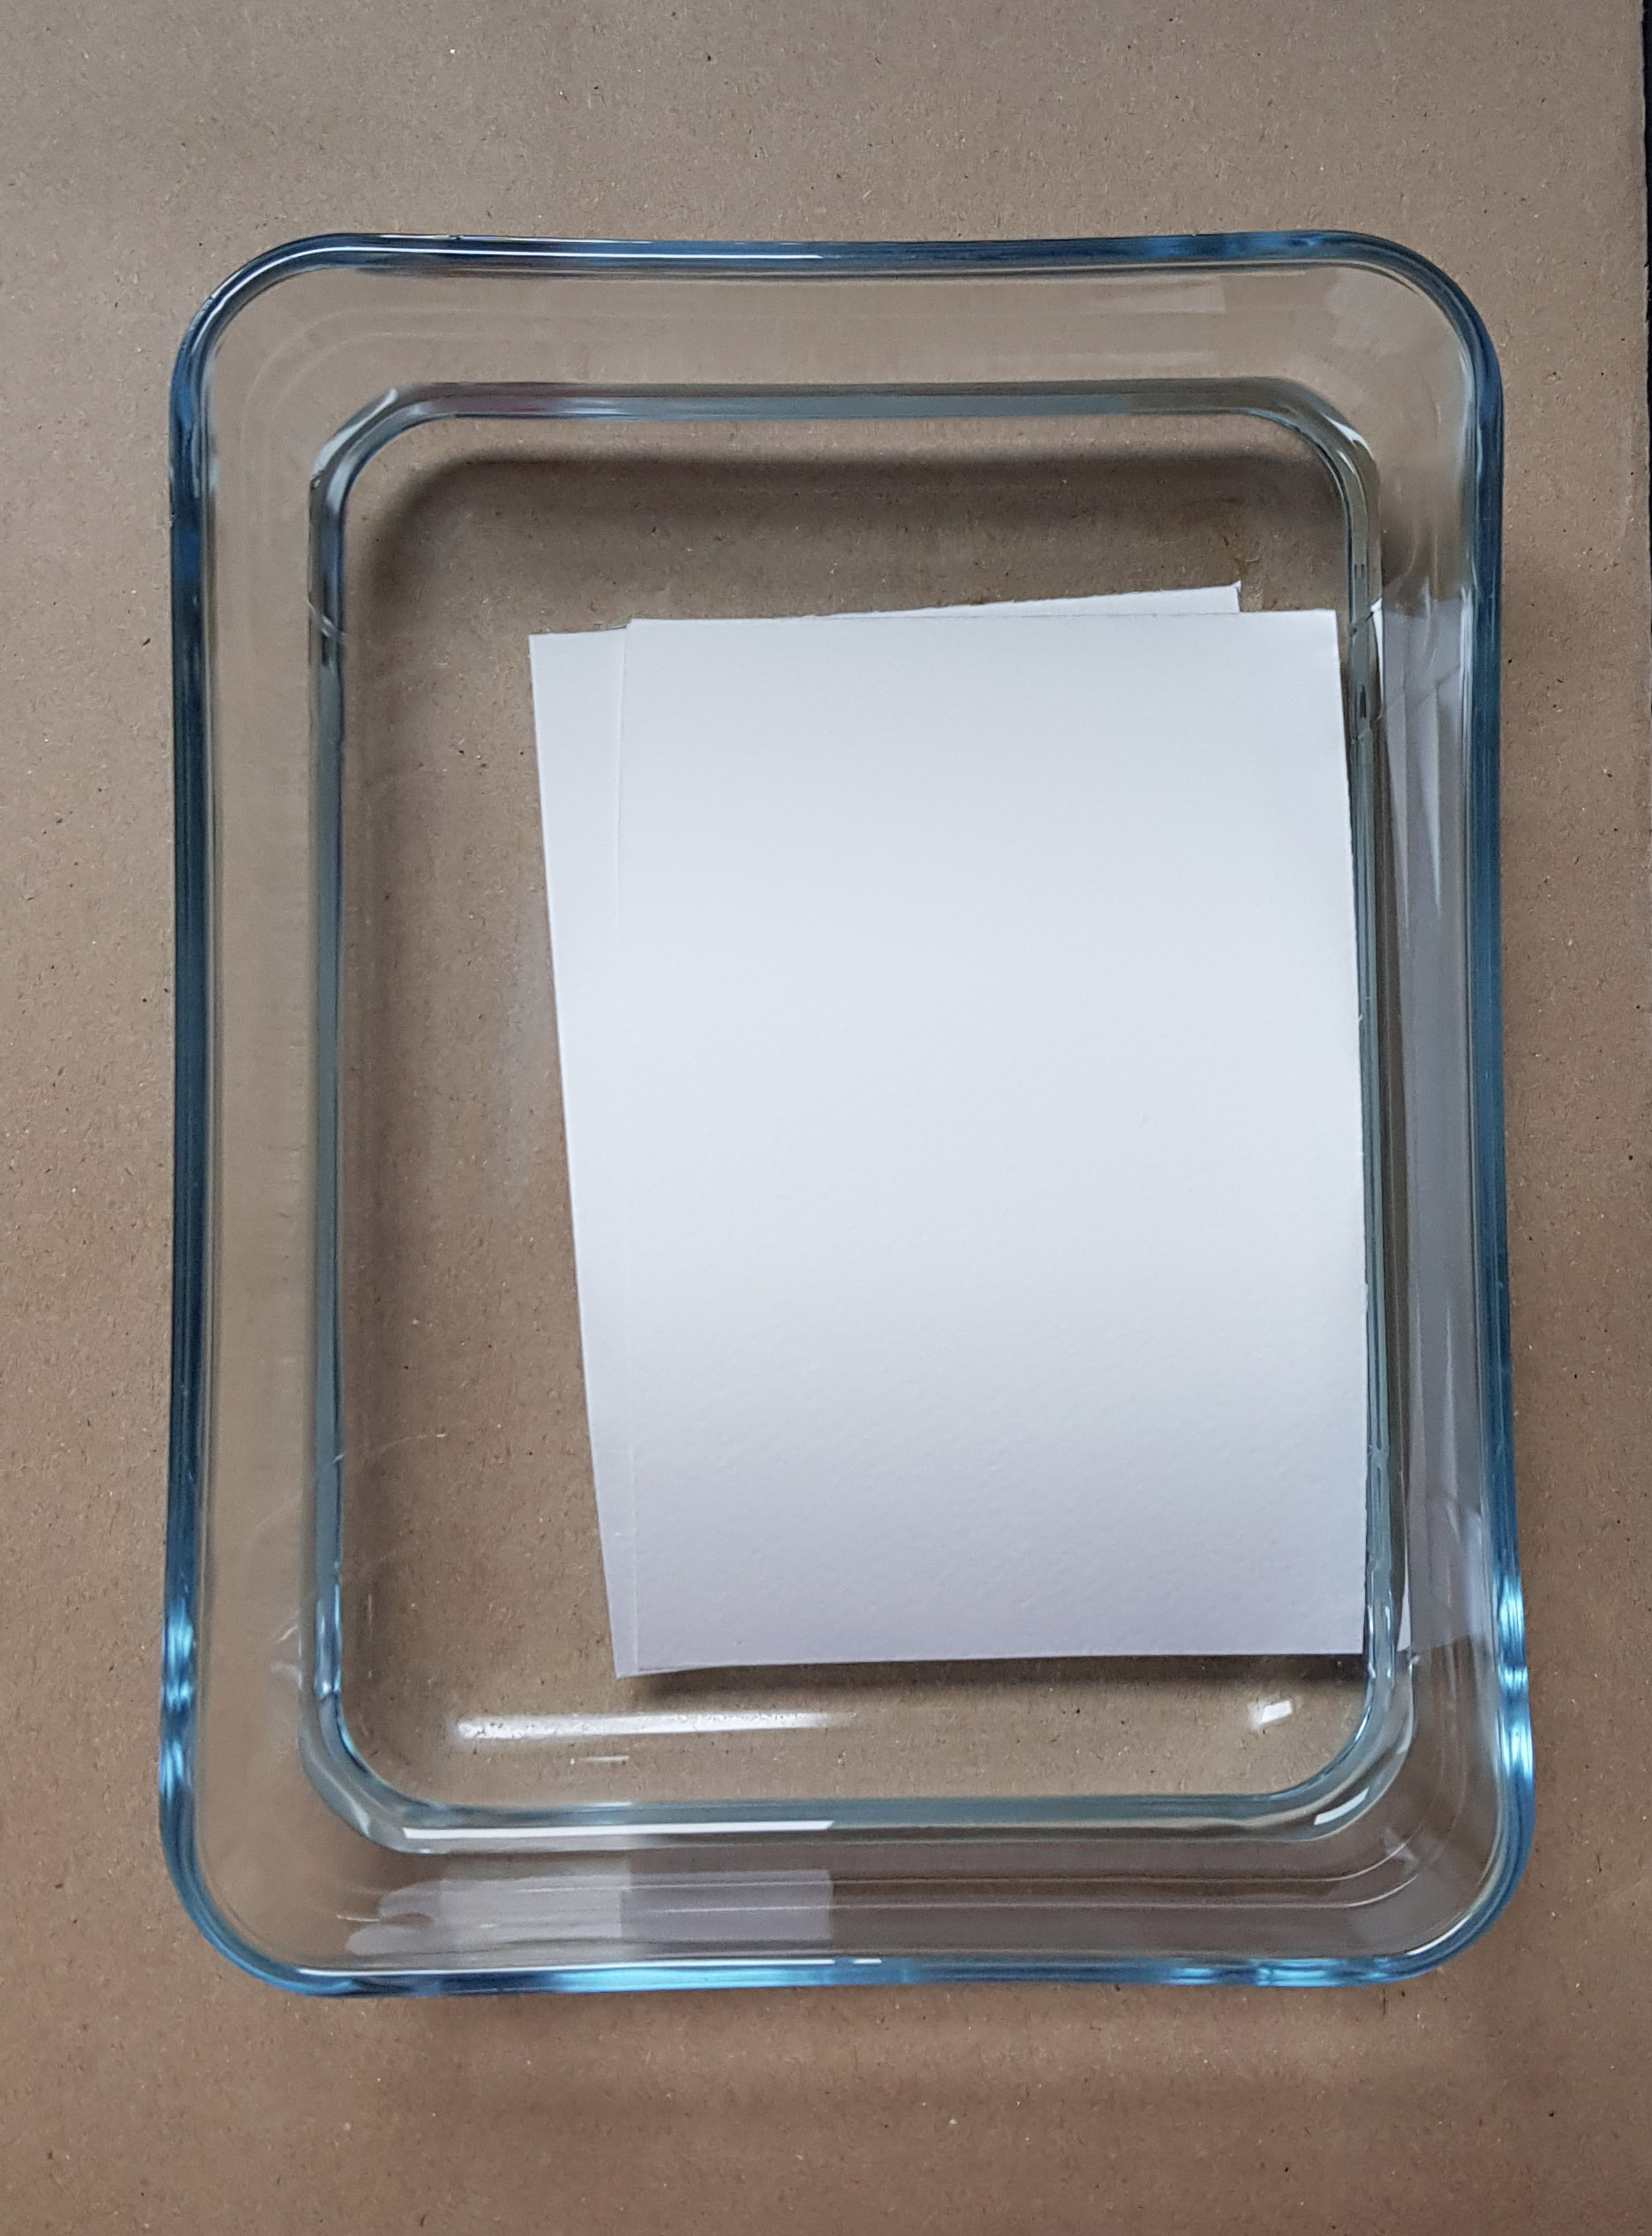
4. Cut the watercolor paper the size or larger than engraved image and soak it for 20 minutes in a flat rectangular bowl of water.

5. Also cut two cardboard pieces and two paper pieces larger than the watercolor paper.
6. While waiting, remove the engraved plastic plate from the paper image or sketch.
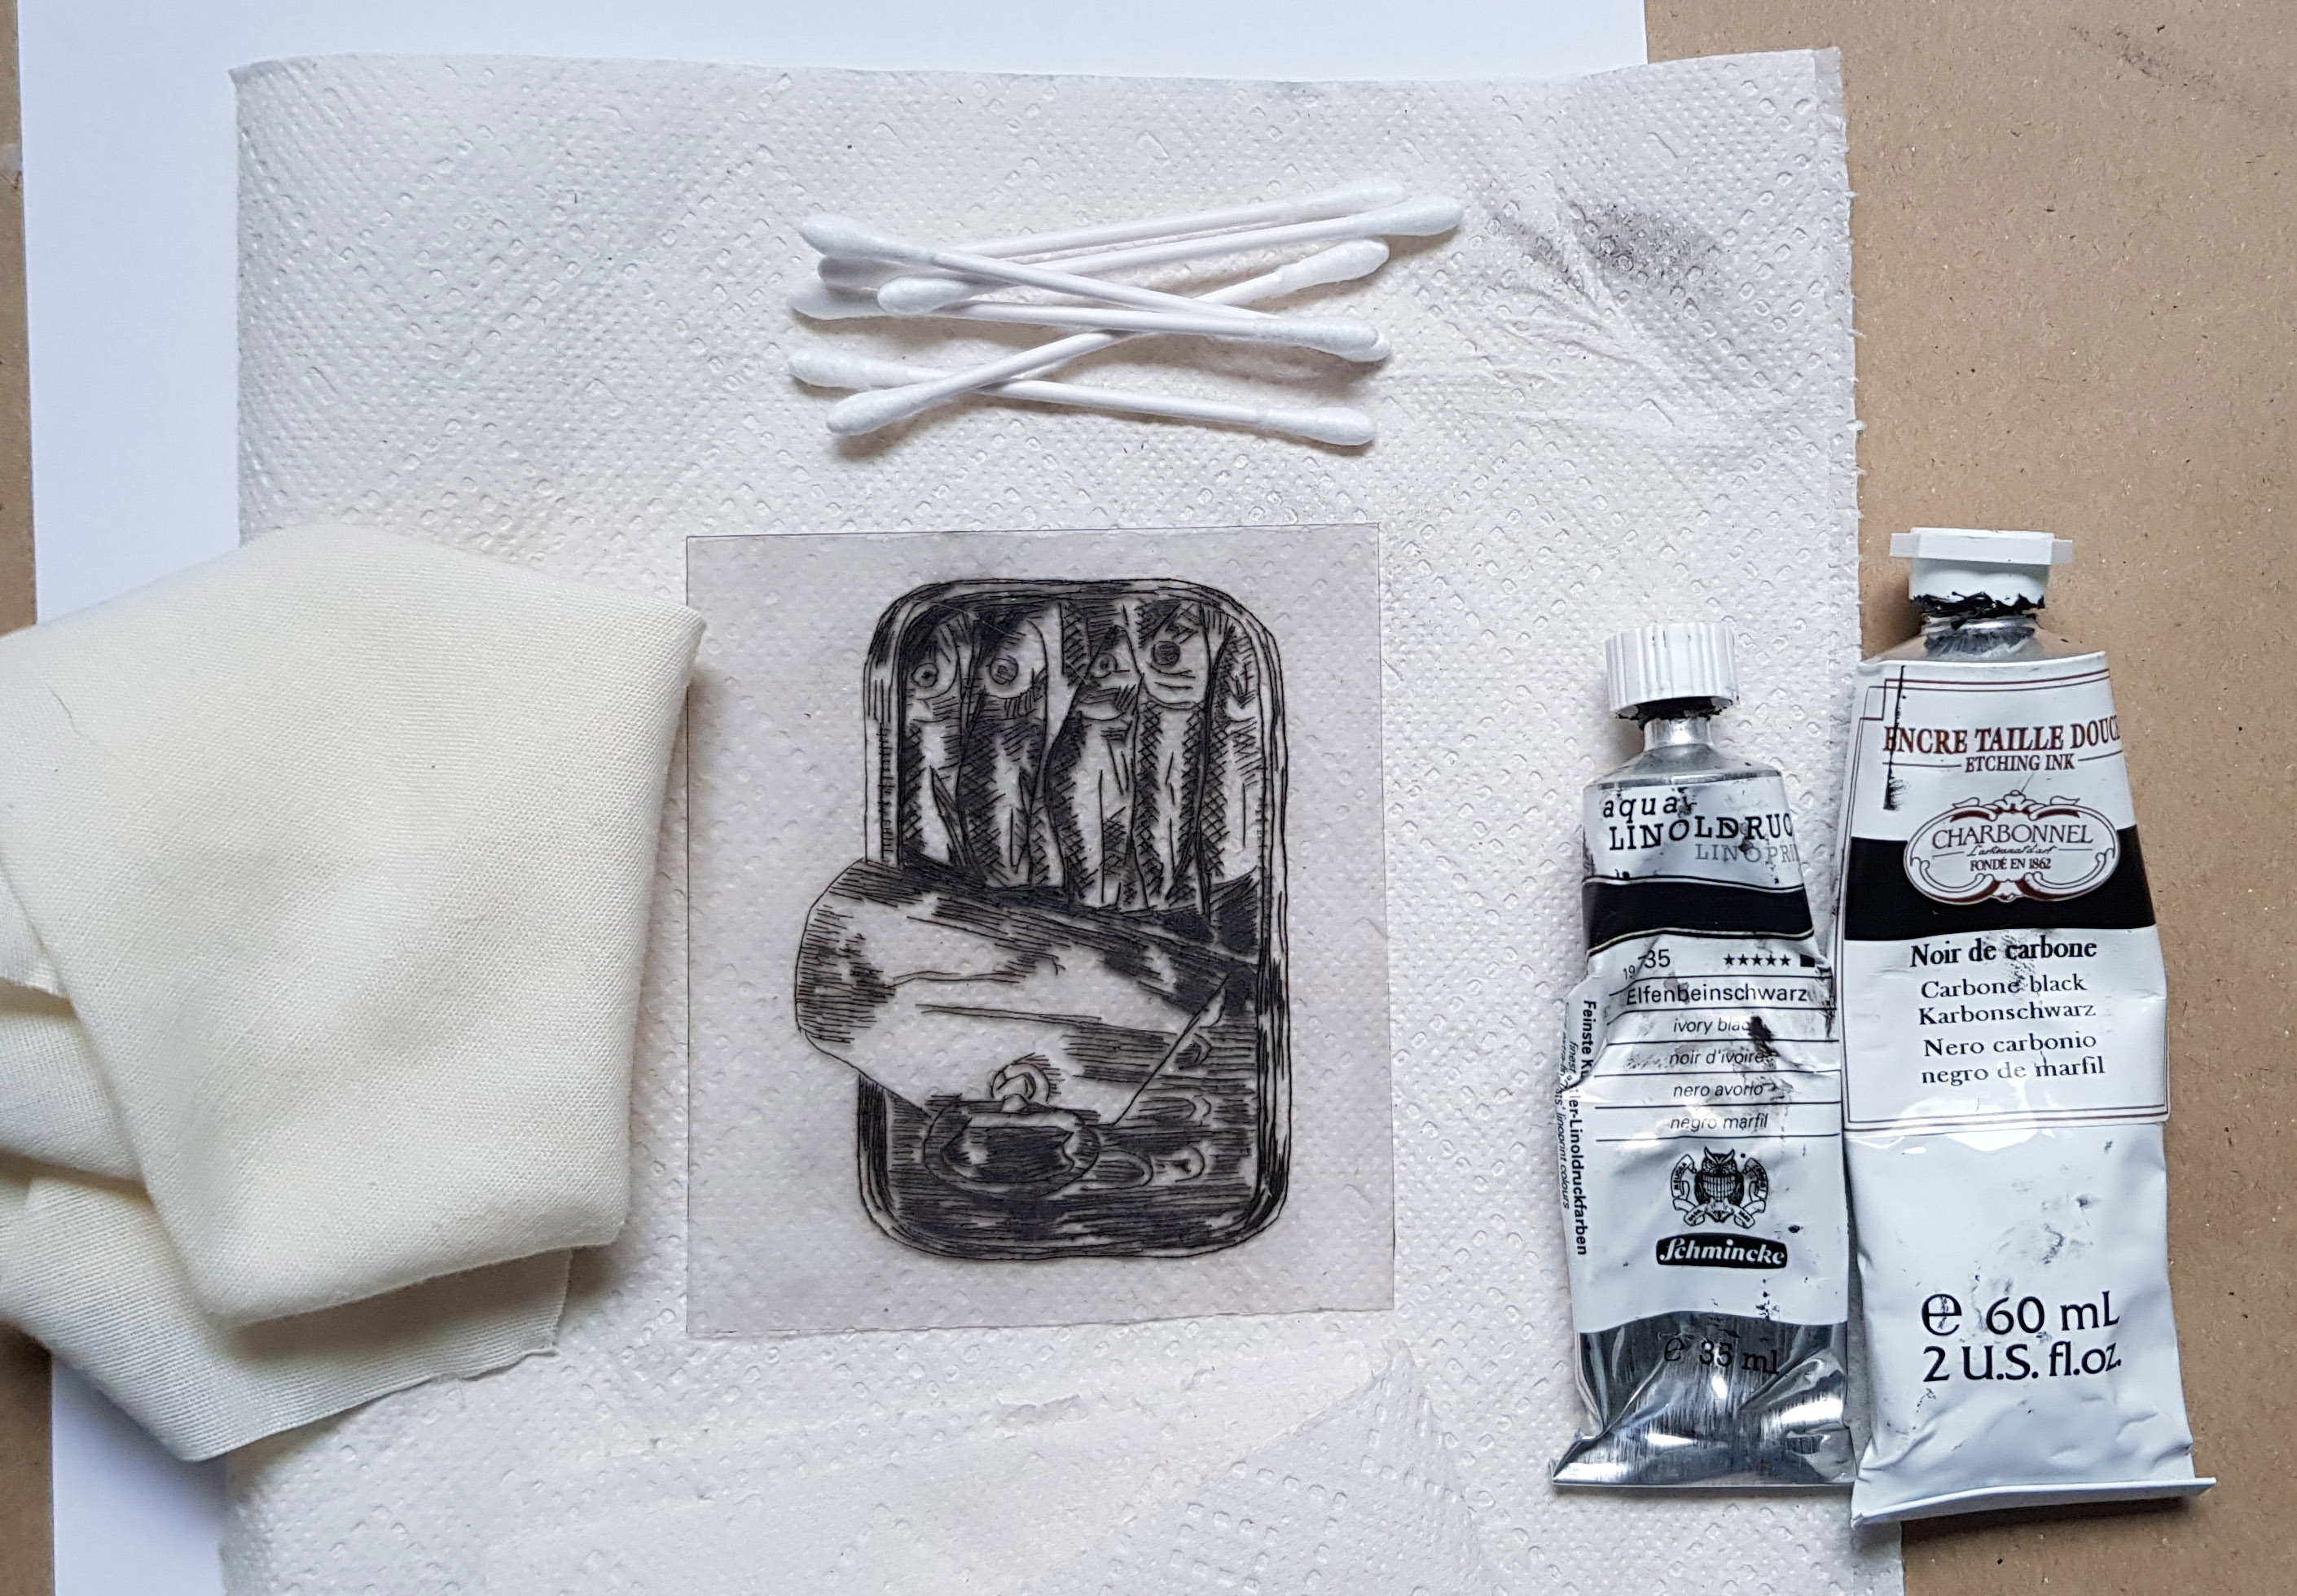
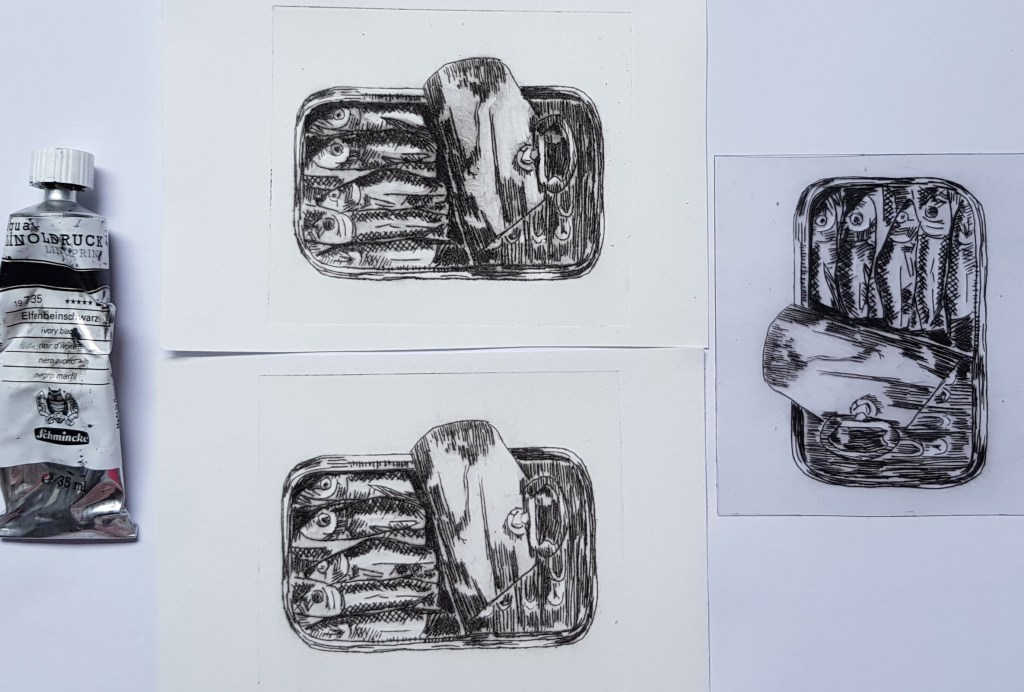
7. Put the plastic gloves on and put a dollop or two of the ink onto the plastic plate. I have used Lino ink, because I already had it in my arts stash and it is water based. Other non-water based etching inks will be stickier and harder to rub clean, but also works perfect.

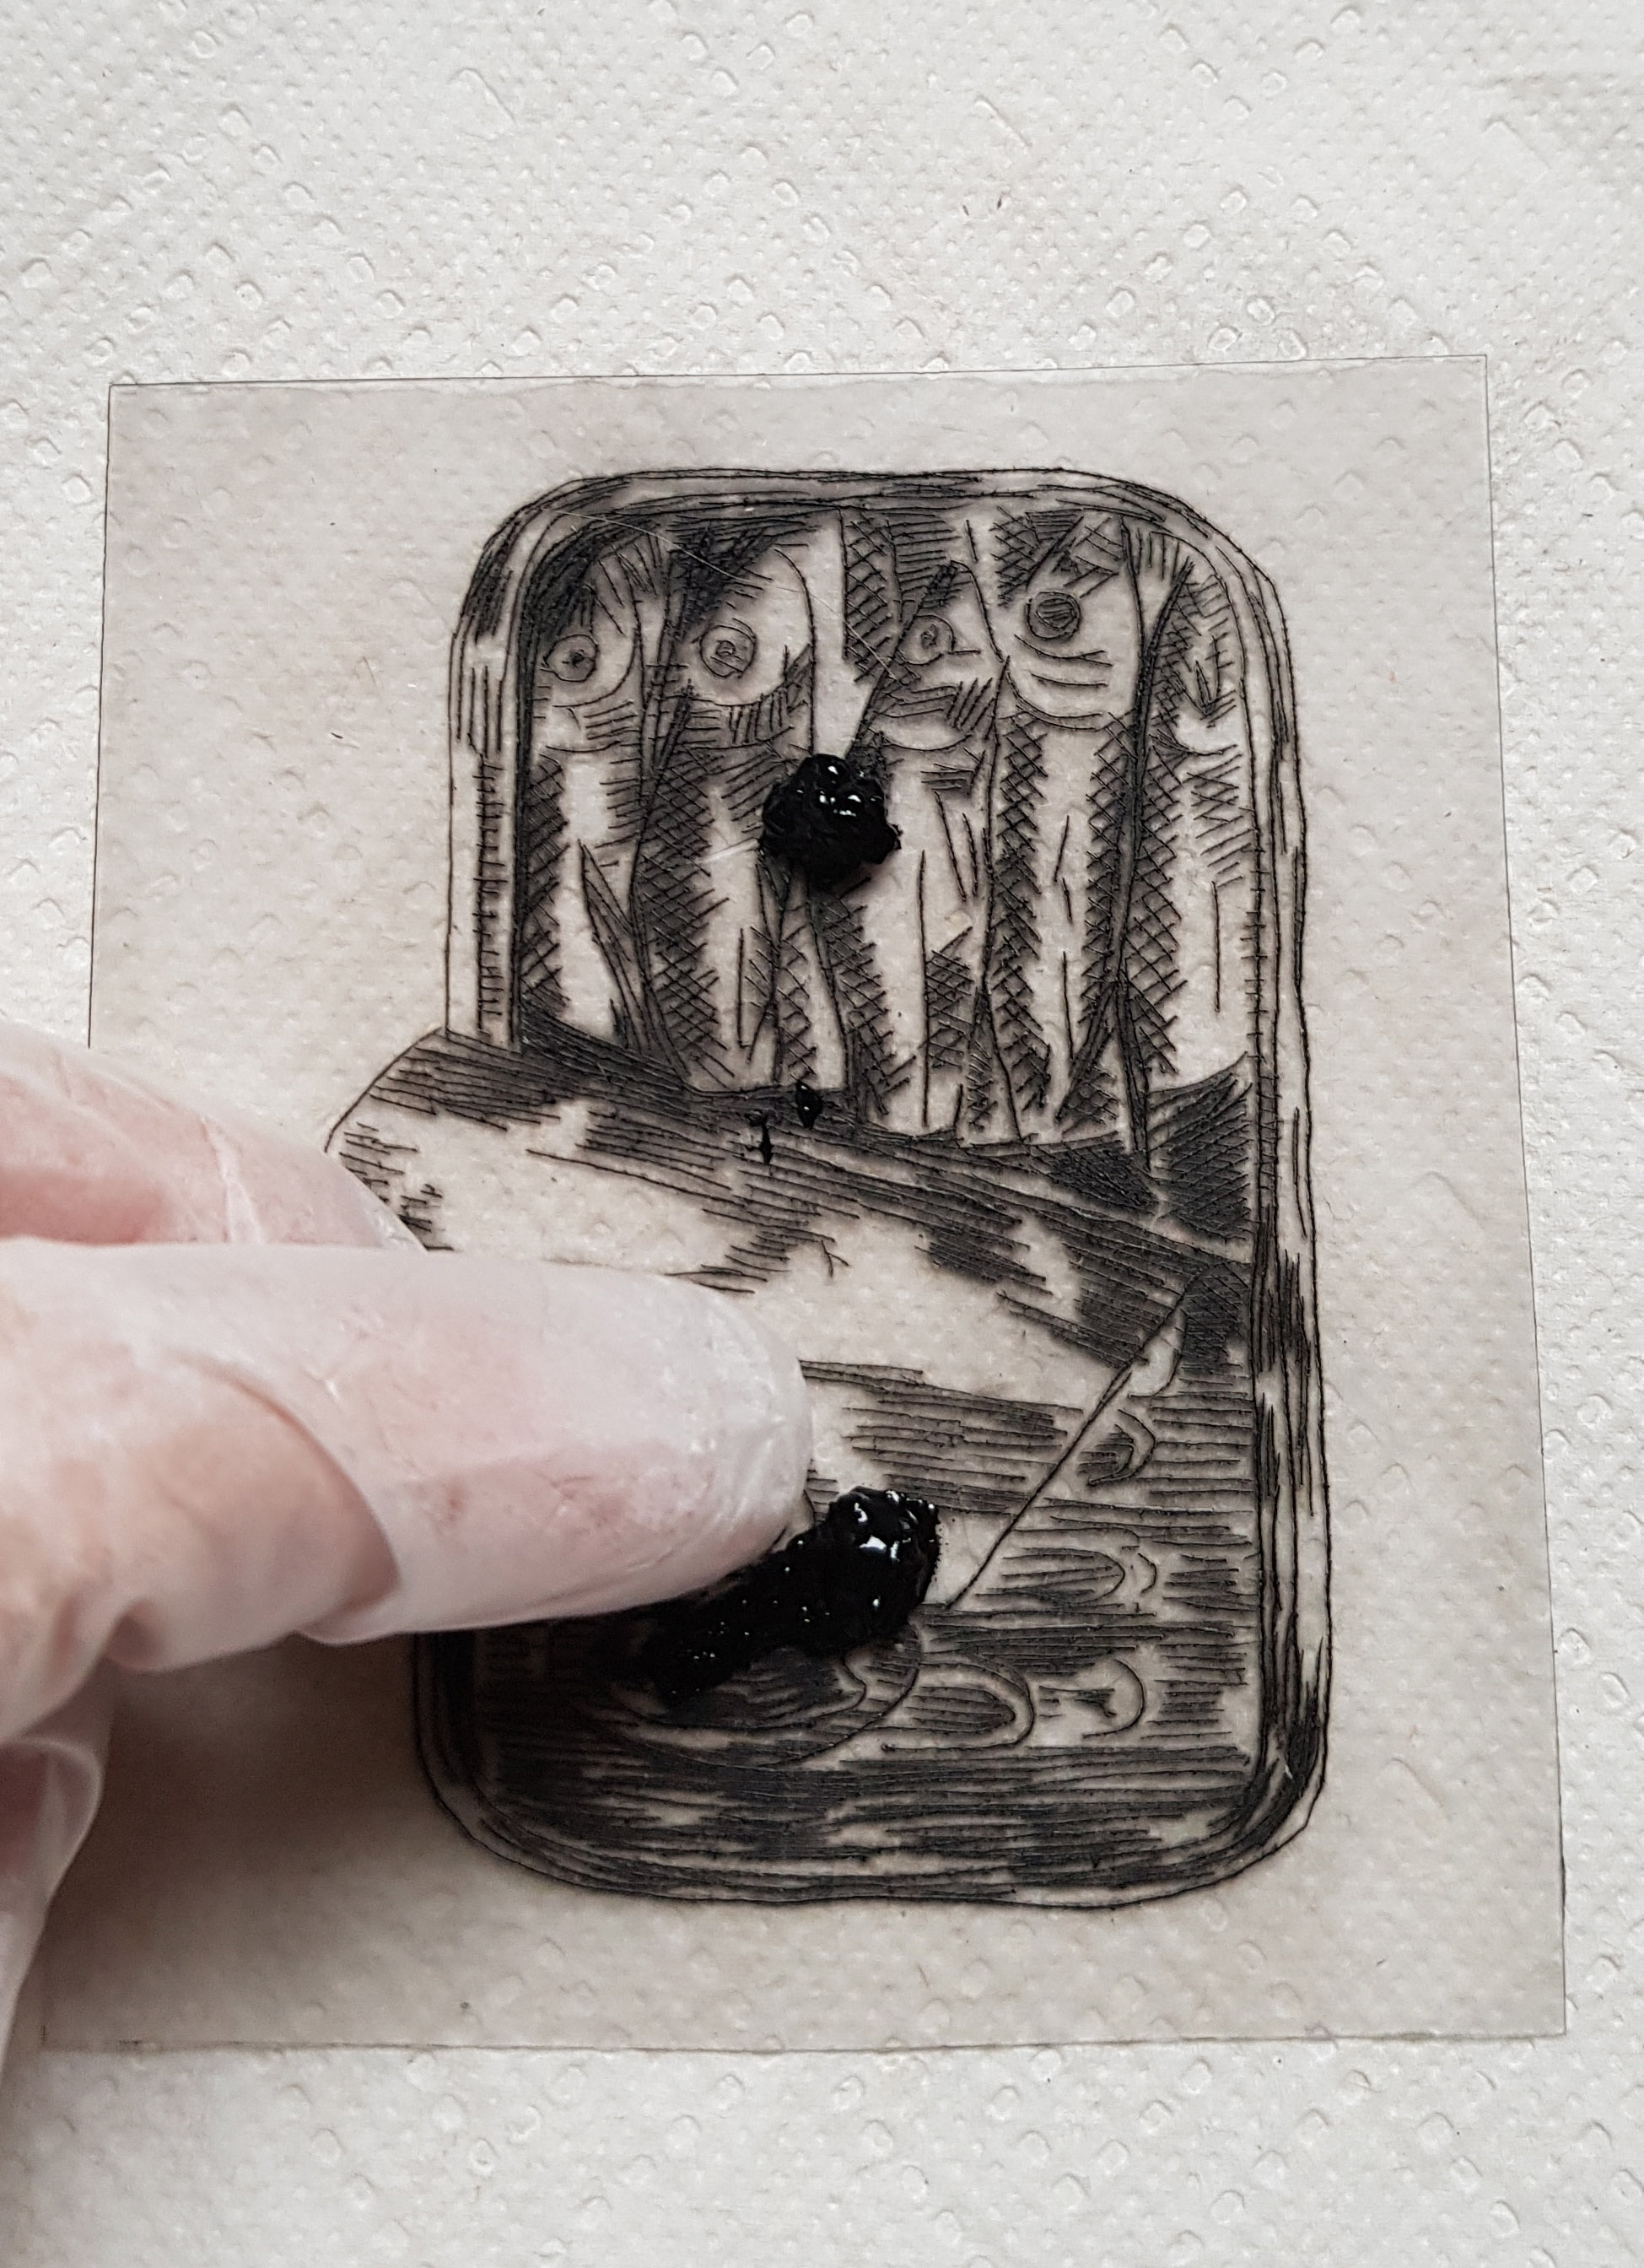
8. With circular movements rub the ink with your finger into the grooves and cover the whole plate.
9. With the cloth, rub all the excess ink from the plate. Lastly with light movements and kitchen towel, wipe the plate on both sides clean.
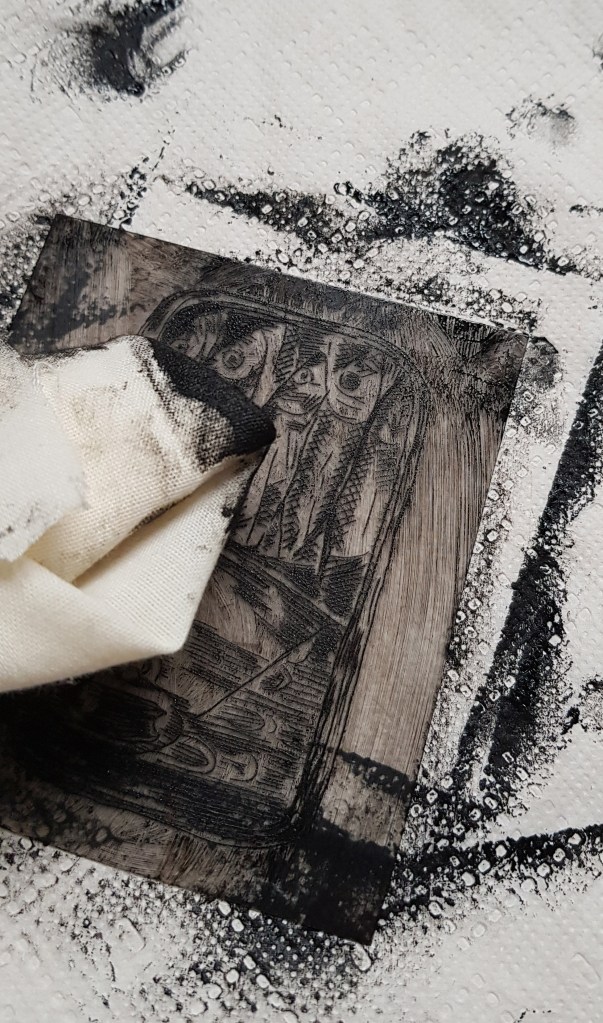
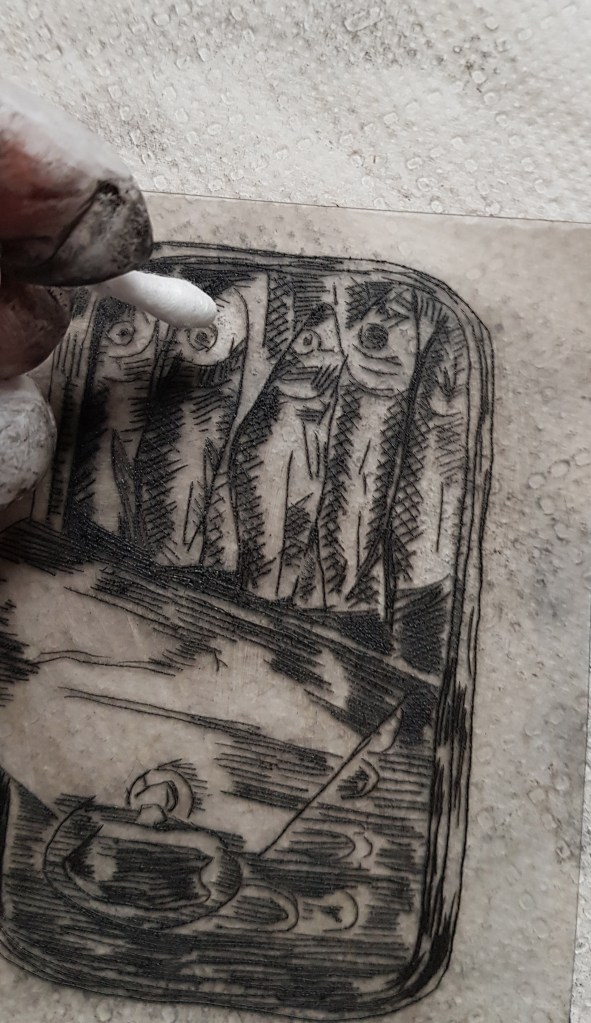
10. Use the cotton swabs and wipe small highlight areas.
11. When you are happy with your plate, remove your gloves and wash your hands. You do not want any black fingerprints on your paper.
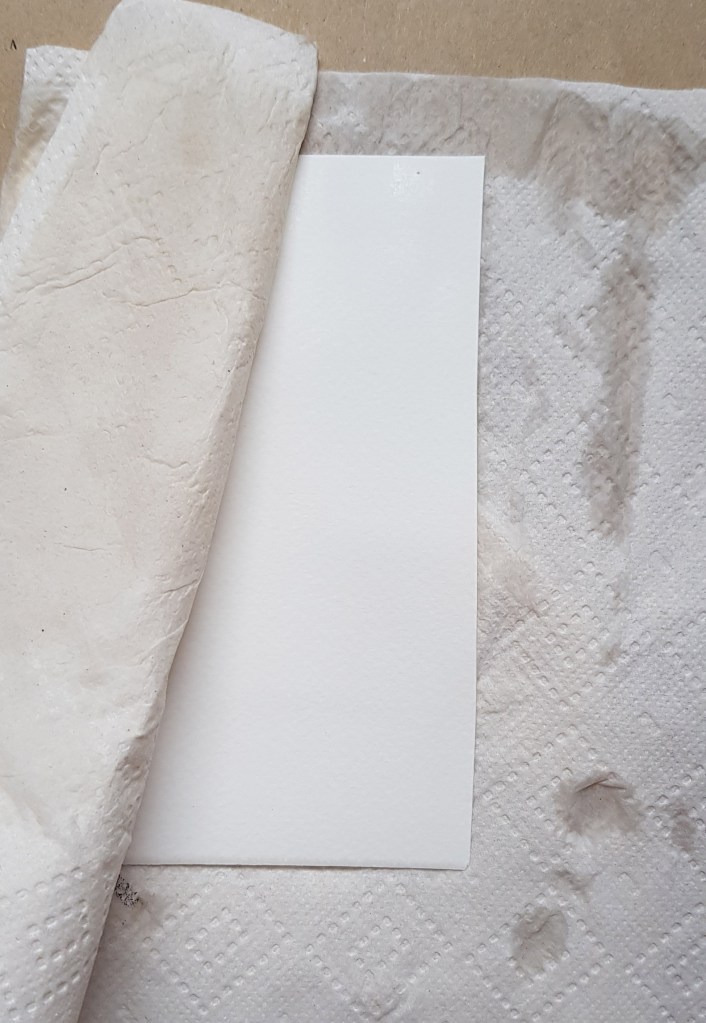
12. Remove the watercolor paper from the water and tap dry with kitchen towel. When you hold the paper against the light, there should be no shiny parts.
13. Stack the pieces as follows: a piece of cardboard, then a piece of paper on top of the cardboard, next the watercolor paper, then the plate – face down onto the watercolor paper, again a piece of paper and lastly a piece of cardboard.
14. Grip it firmly and feed it into the pasta machine while rolling it evenly through the machine.

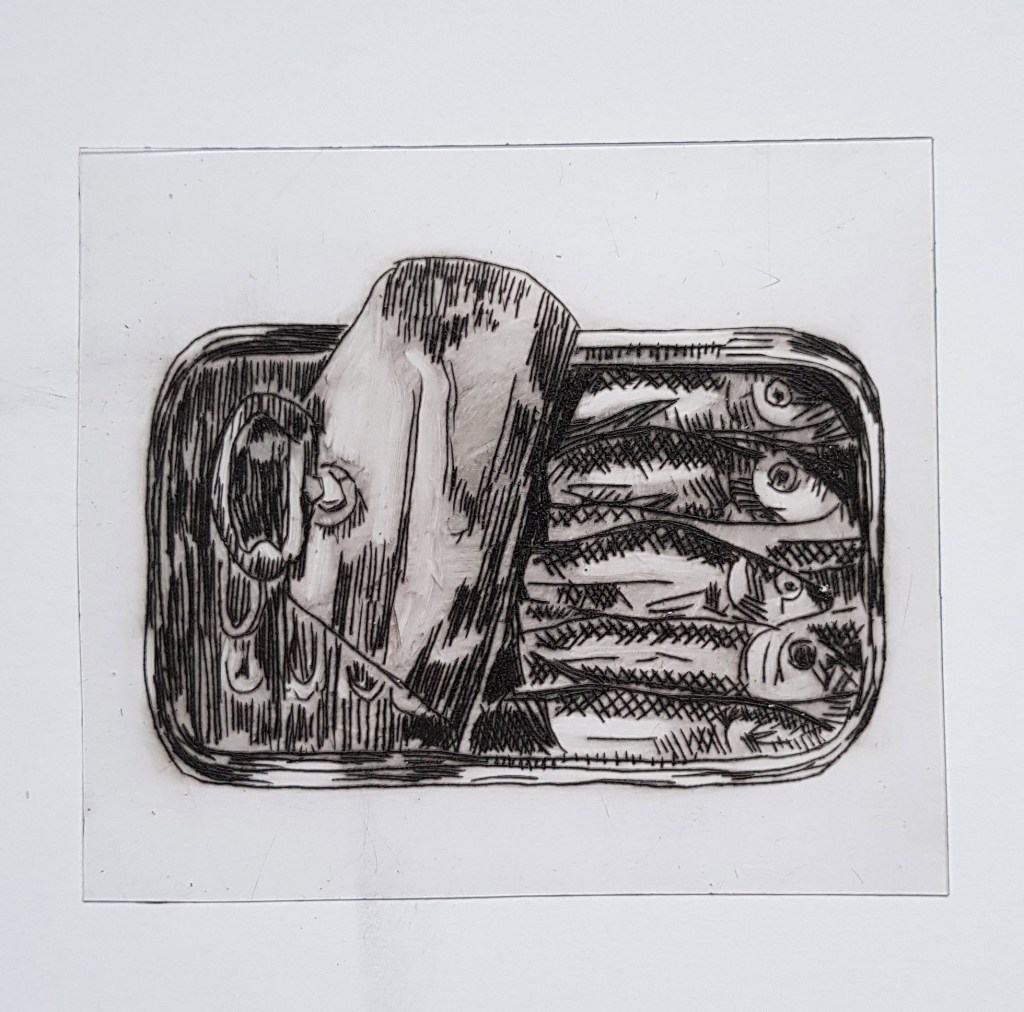
15. Remove all the pieces and enjoy your first piece of art!!!!
Some possible problems you might encounter:
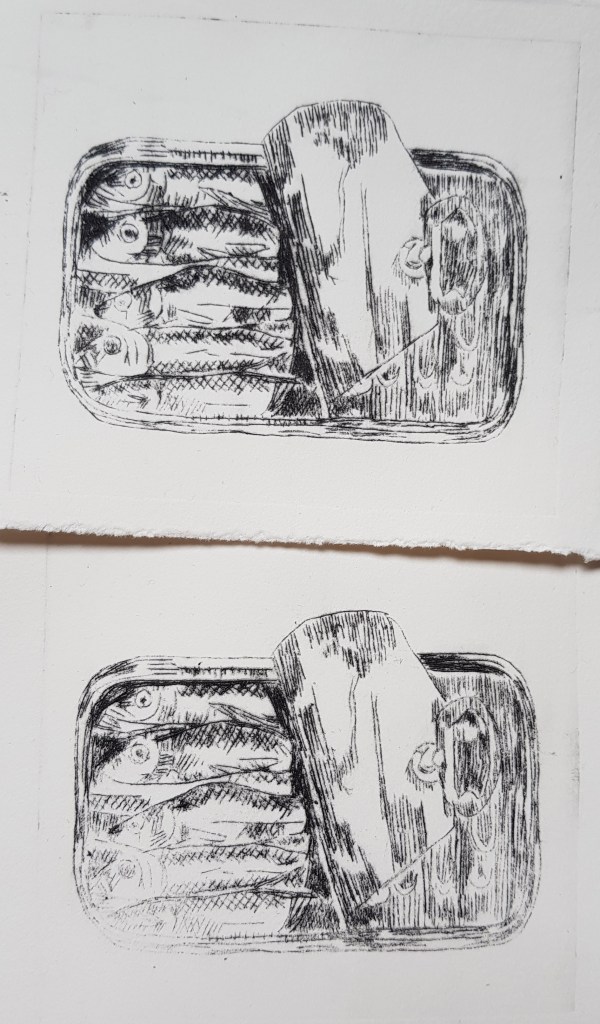
If it is too light, you have rubbed away too many ink:
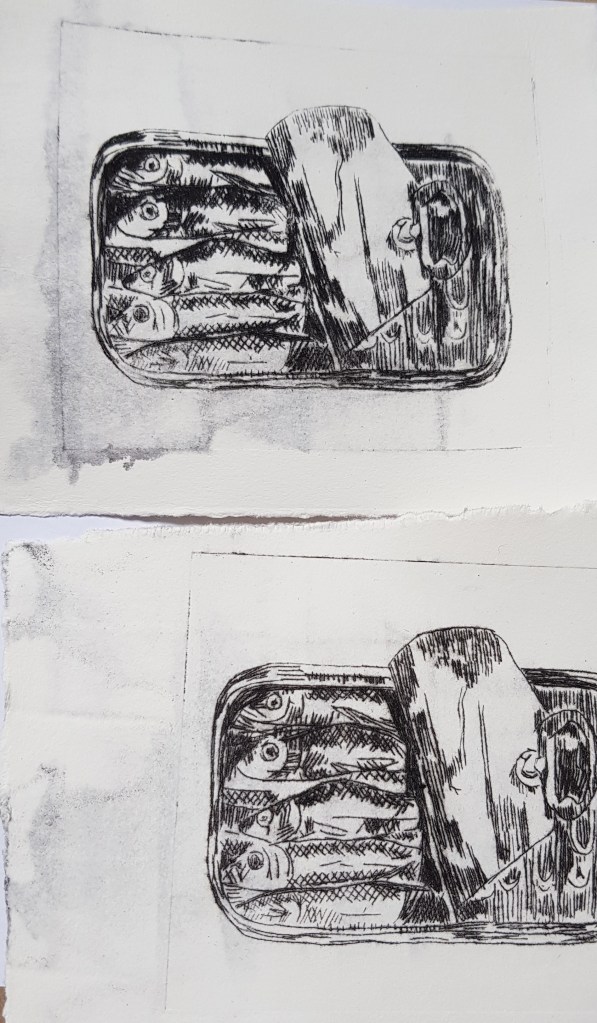
If your paper was too wet, you will have runny ink marks:
Experiment, have fun and just enjoy the creative process!
xoxo Karen

Красота . Великолепная работа.
LikeLike
Thank you
LikeLike