As with my previous tutorial on printing with plastic containers and a pasta machine, drypoint printing can also be done with milk cartons. It is also an exciting printing process and good for the environment.
It basically works the same way as with the plastic. Grooves are made into the silver foil of the milk cartons and the ink, when rubbed across the surface, stays in the grooves while the rest is wiped away. Once again, if you do not have an etching press, the pasta machine works just as well as the press.
What you need:
- Sketch/photograph
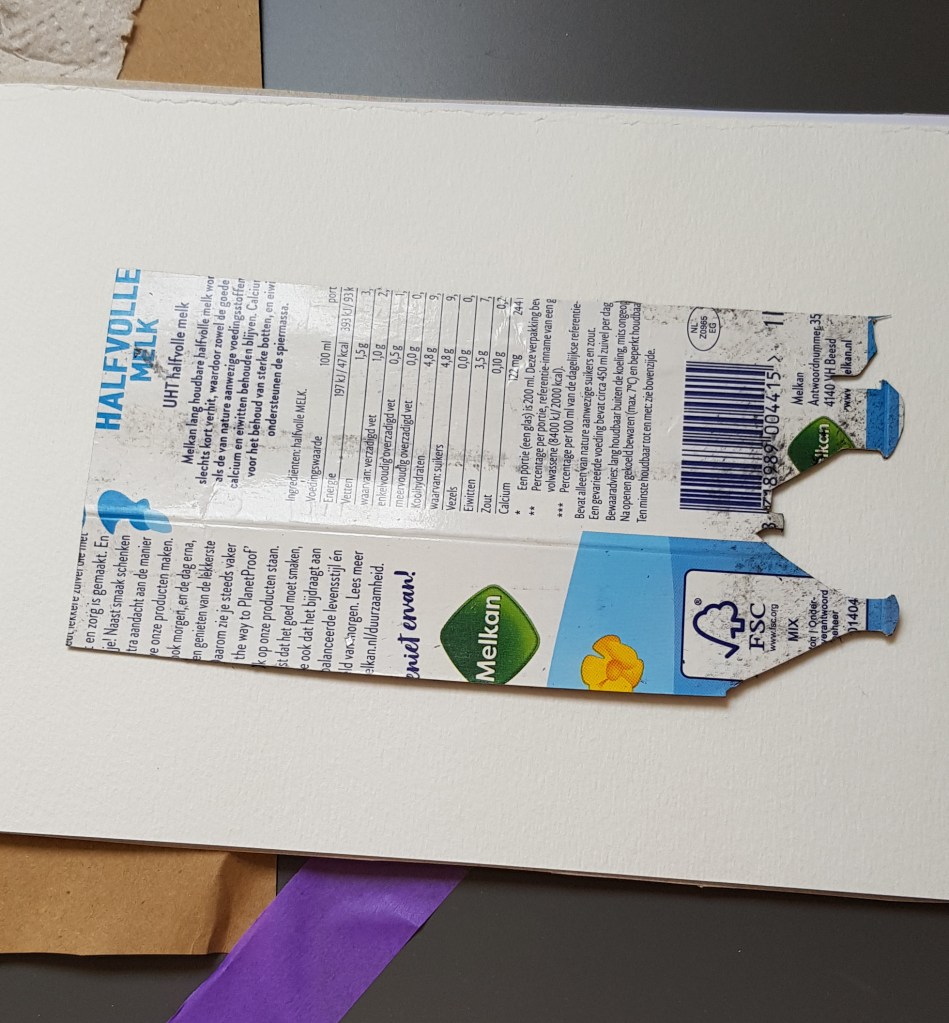
- Milk carton with foil lining
- Washi tape or sensitive masking tape: too strong masking tape might tear the surface of your sketch paper or image
- Carbon transfer paper (optional)
- Etching tool or craft knife
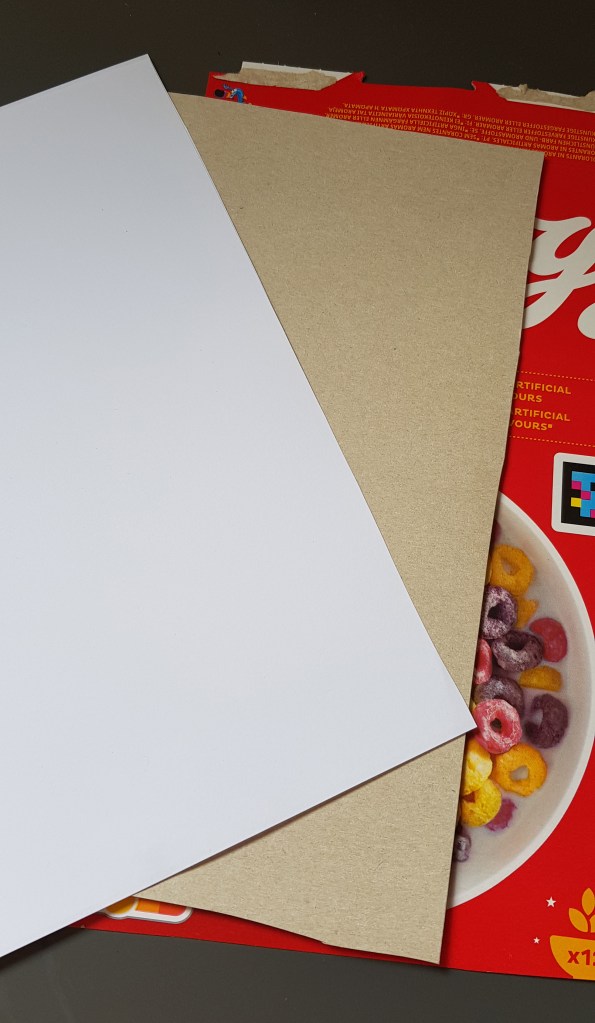
- Watercolor paper
- Rectangular bowl with water
- Plastic gloves
- Etching ink e.g. Intaglio ink works the best
- Soft cotton fabric like cheese cloth
- Kitchen towel
- A few cotton swabs
- Paper (it can be printing paper or unprinted newspaper)
- Cardboard from cereal box
- Pasta machine, mounted firmly on a table
Method:
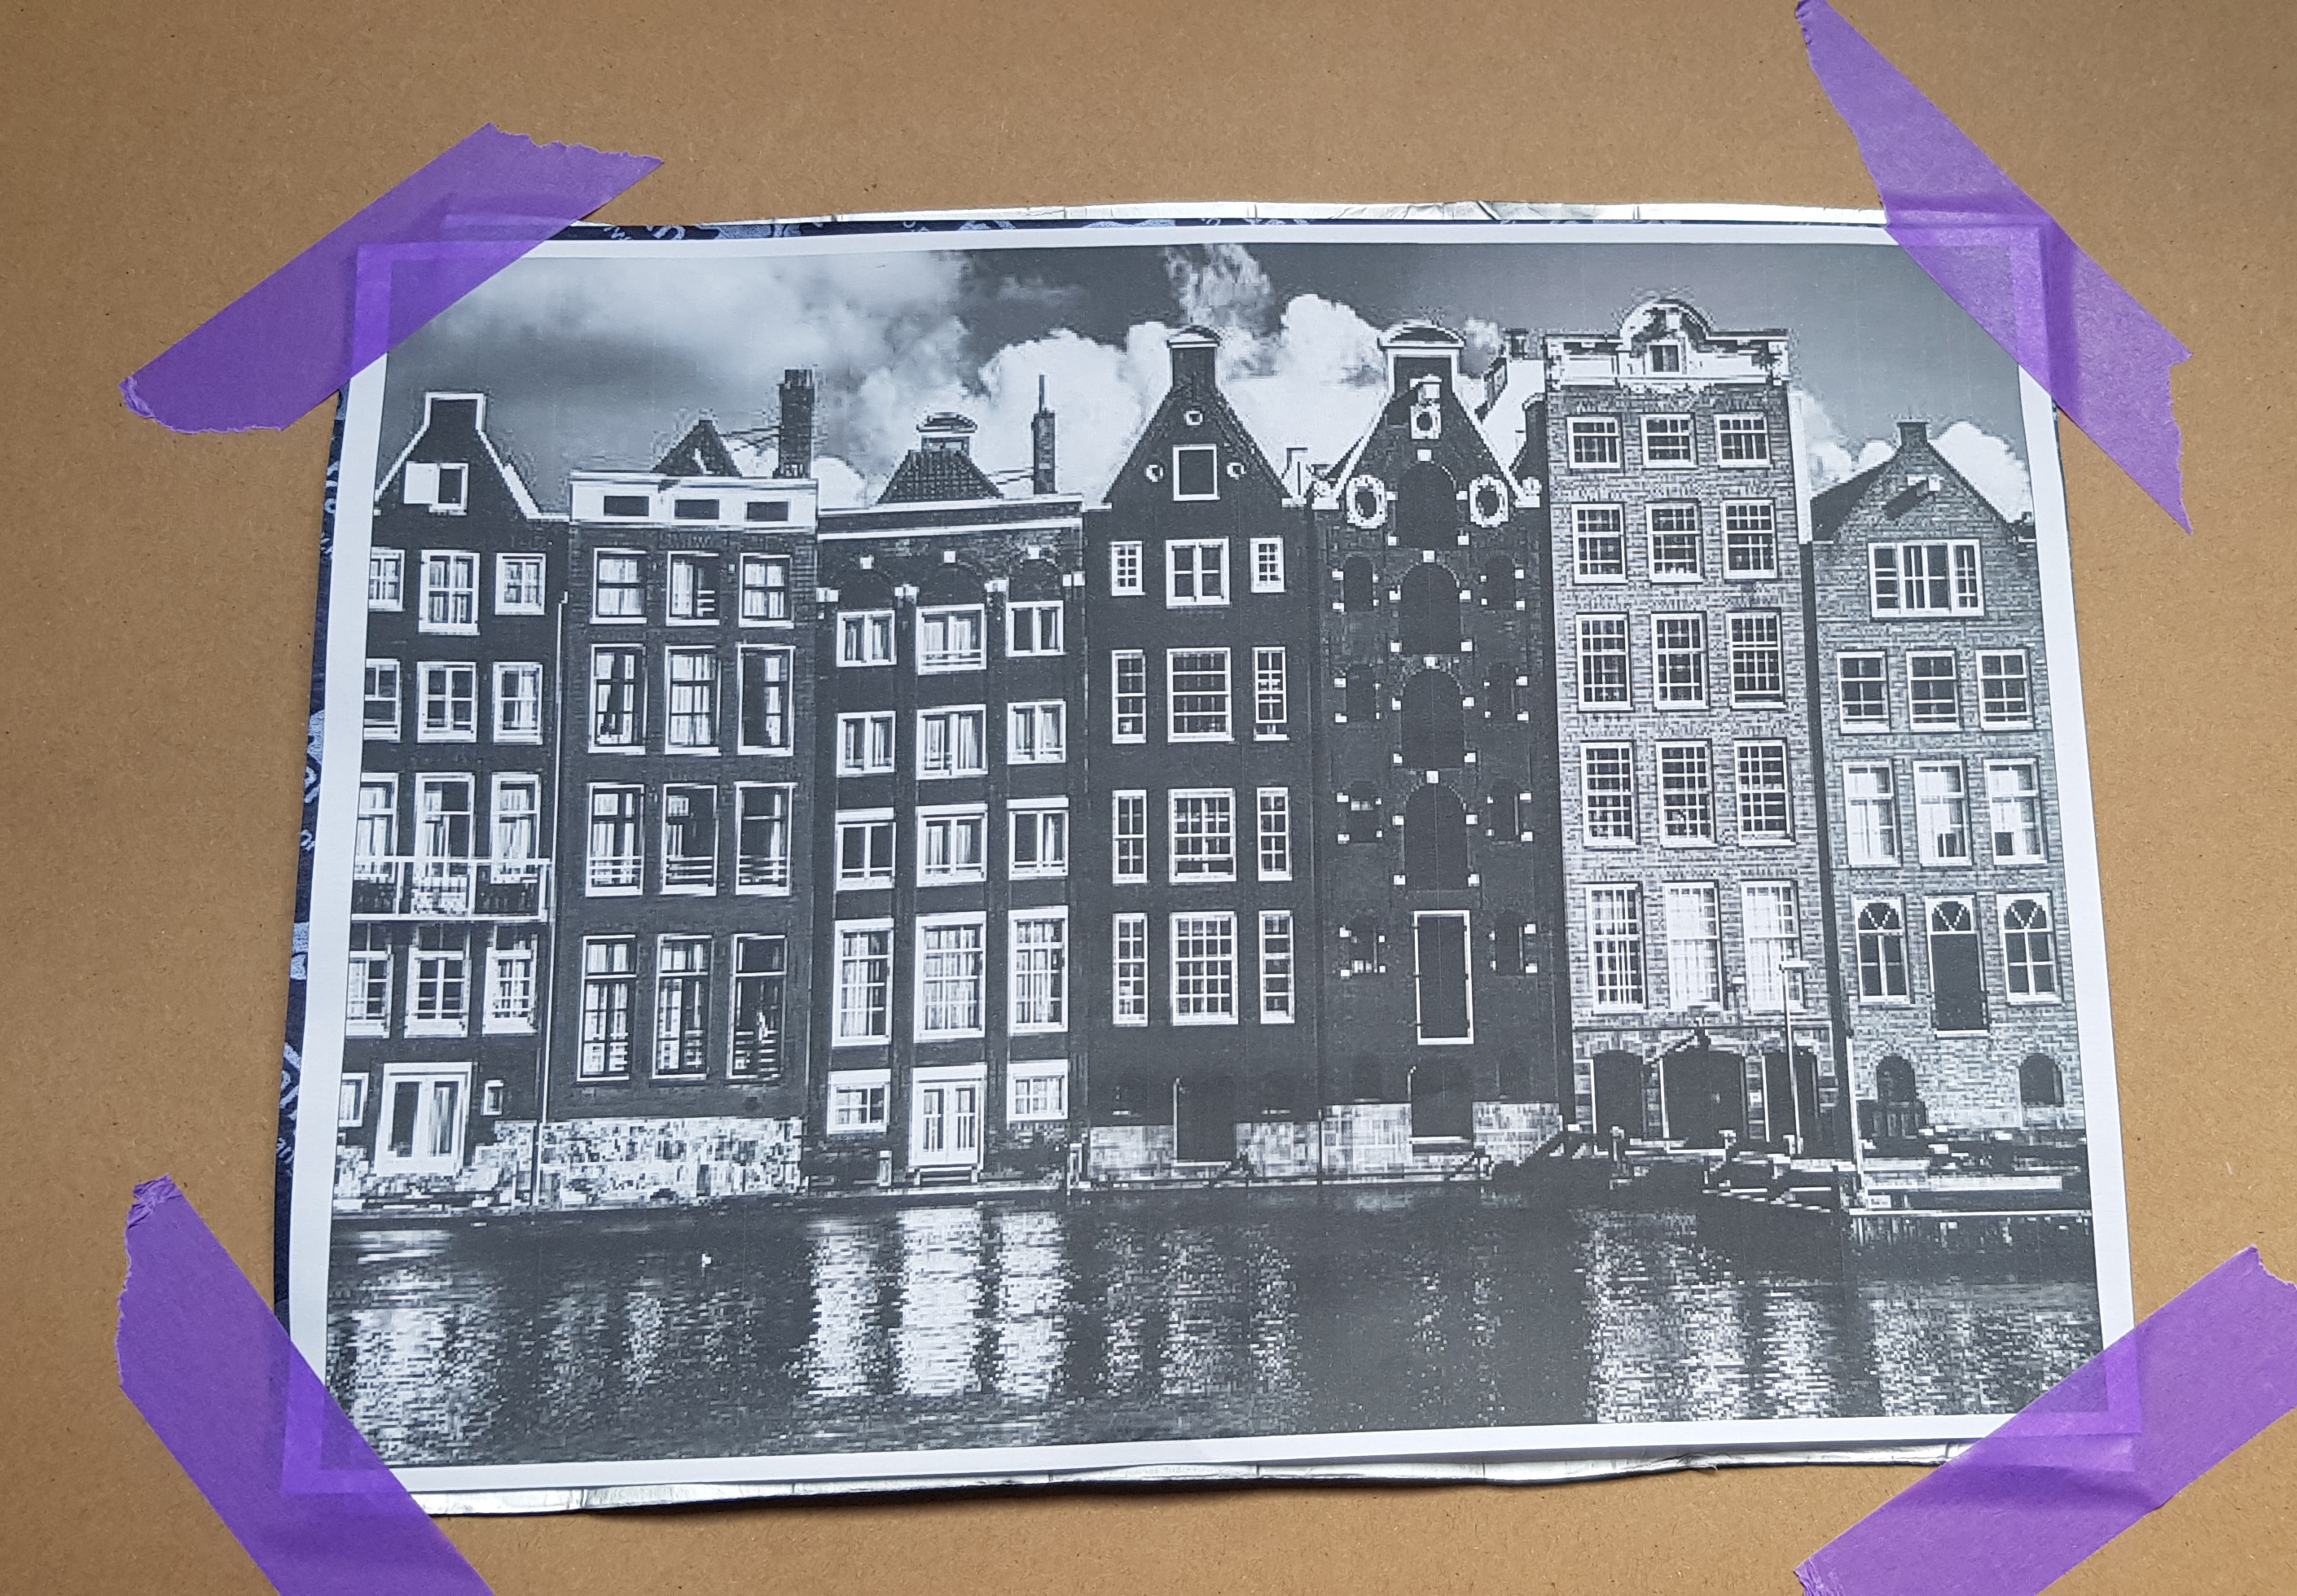
- Make a sketch on paper or in your sketchbook or use a picture or photograph. REMEMBER: your image is going to print as a mirror image. If you use text, keep that in mind.
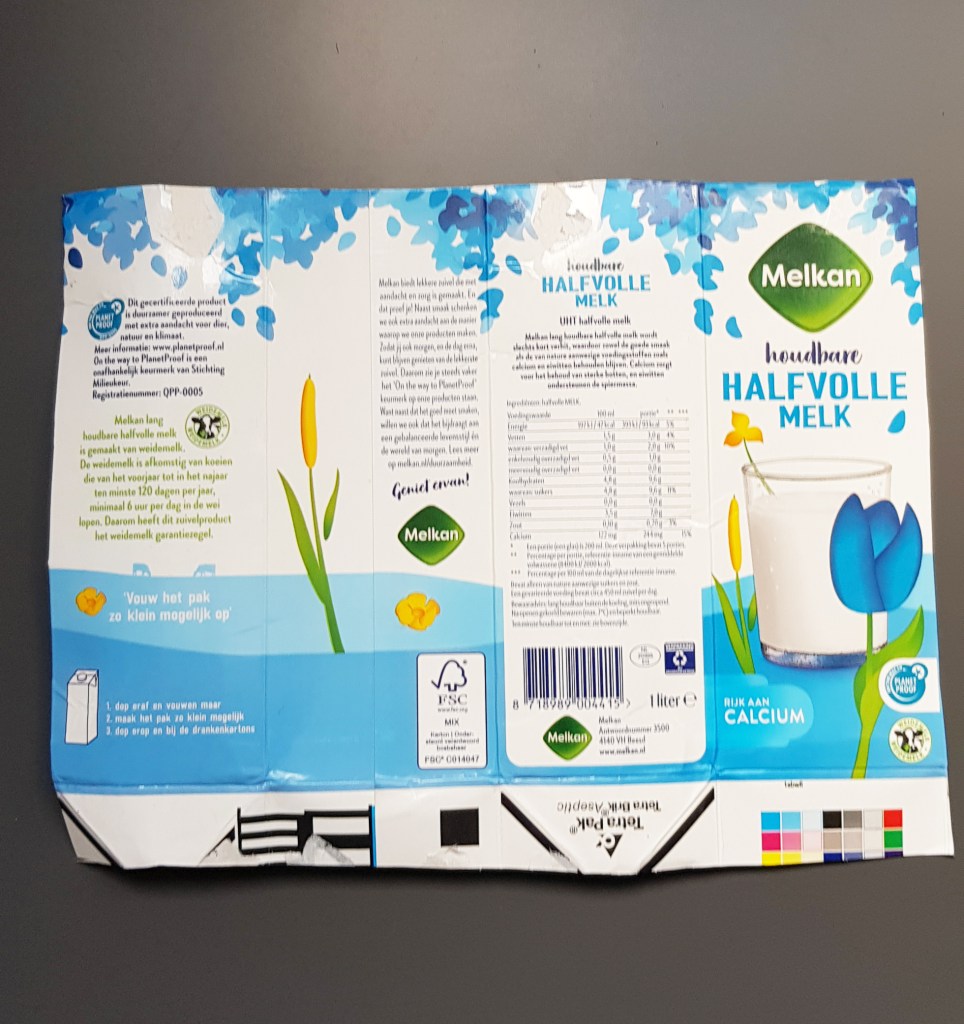
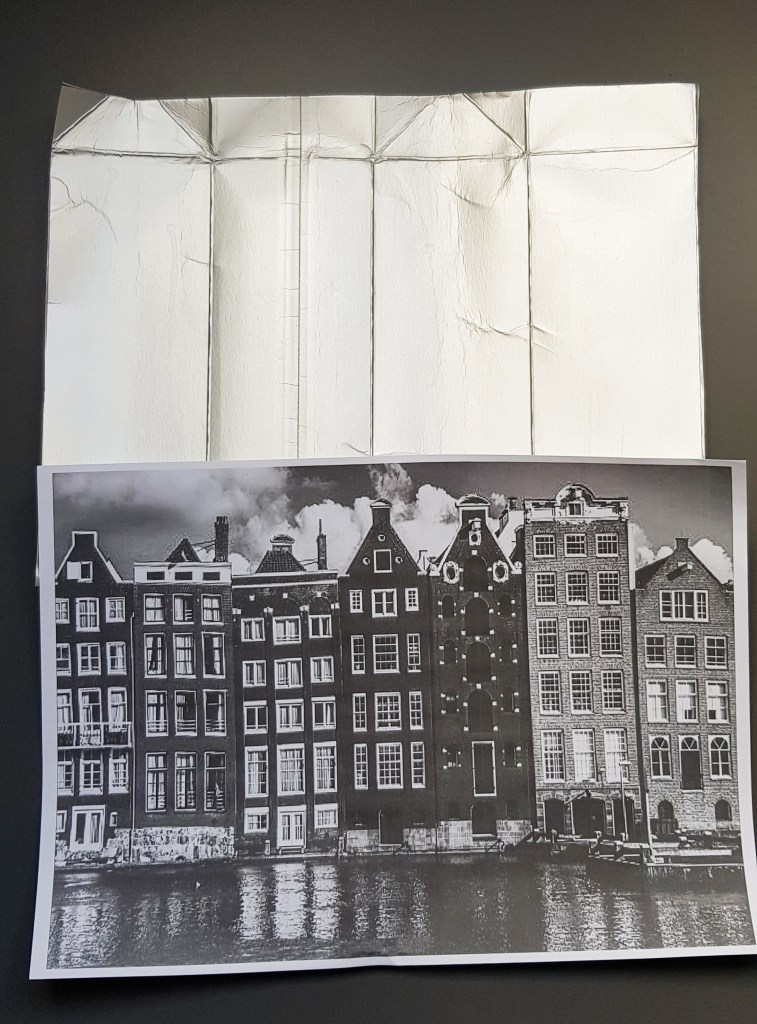
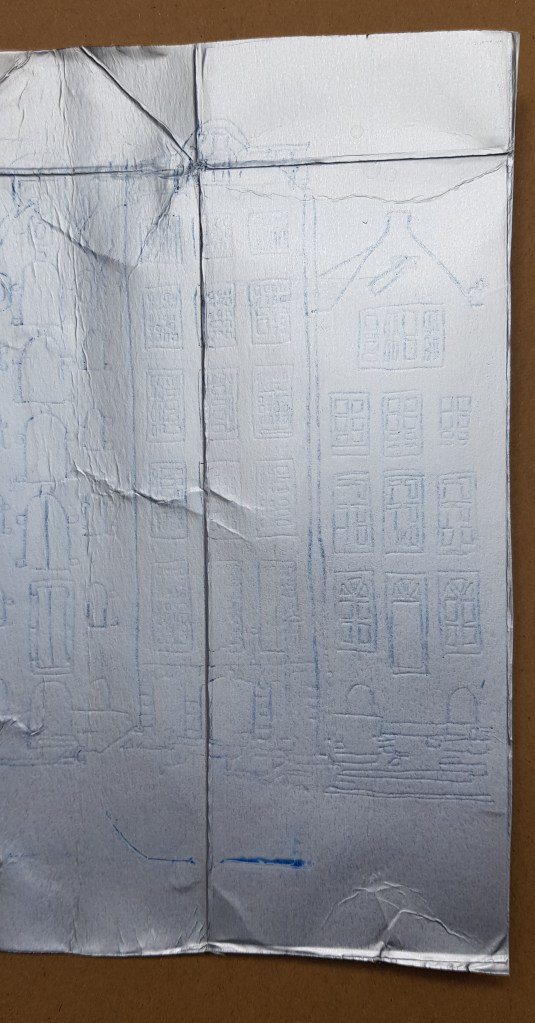
2. Cut the milk carton open and clean the inside. Cut it to the size of the print you want to do. You may use the smooth surfaces only, but keep in mind that the creased surfaces make interesting textures to your print. If you do not have carbon paper, you will still be able to see the image. The carbon paper makes it a bit clearer.
3. Place the image or sketch on top of the carbon paper on top of the carton and keep it in place by using the tape.
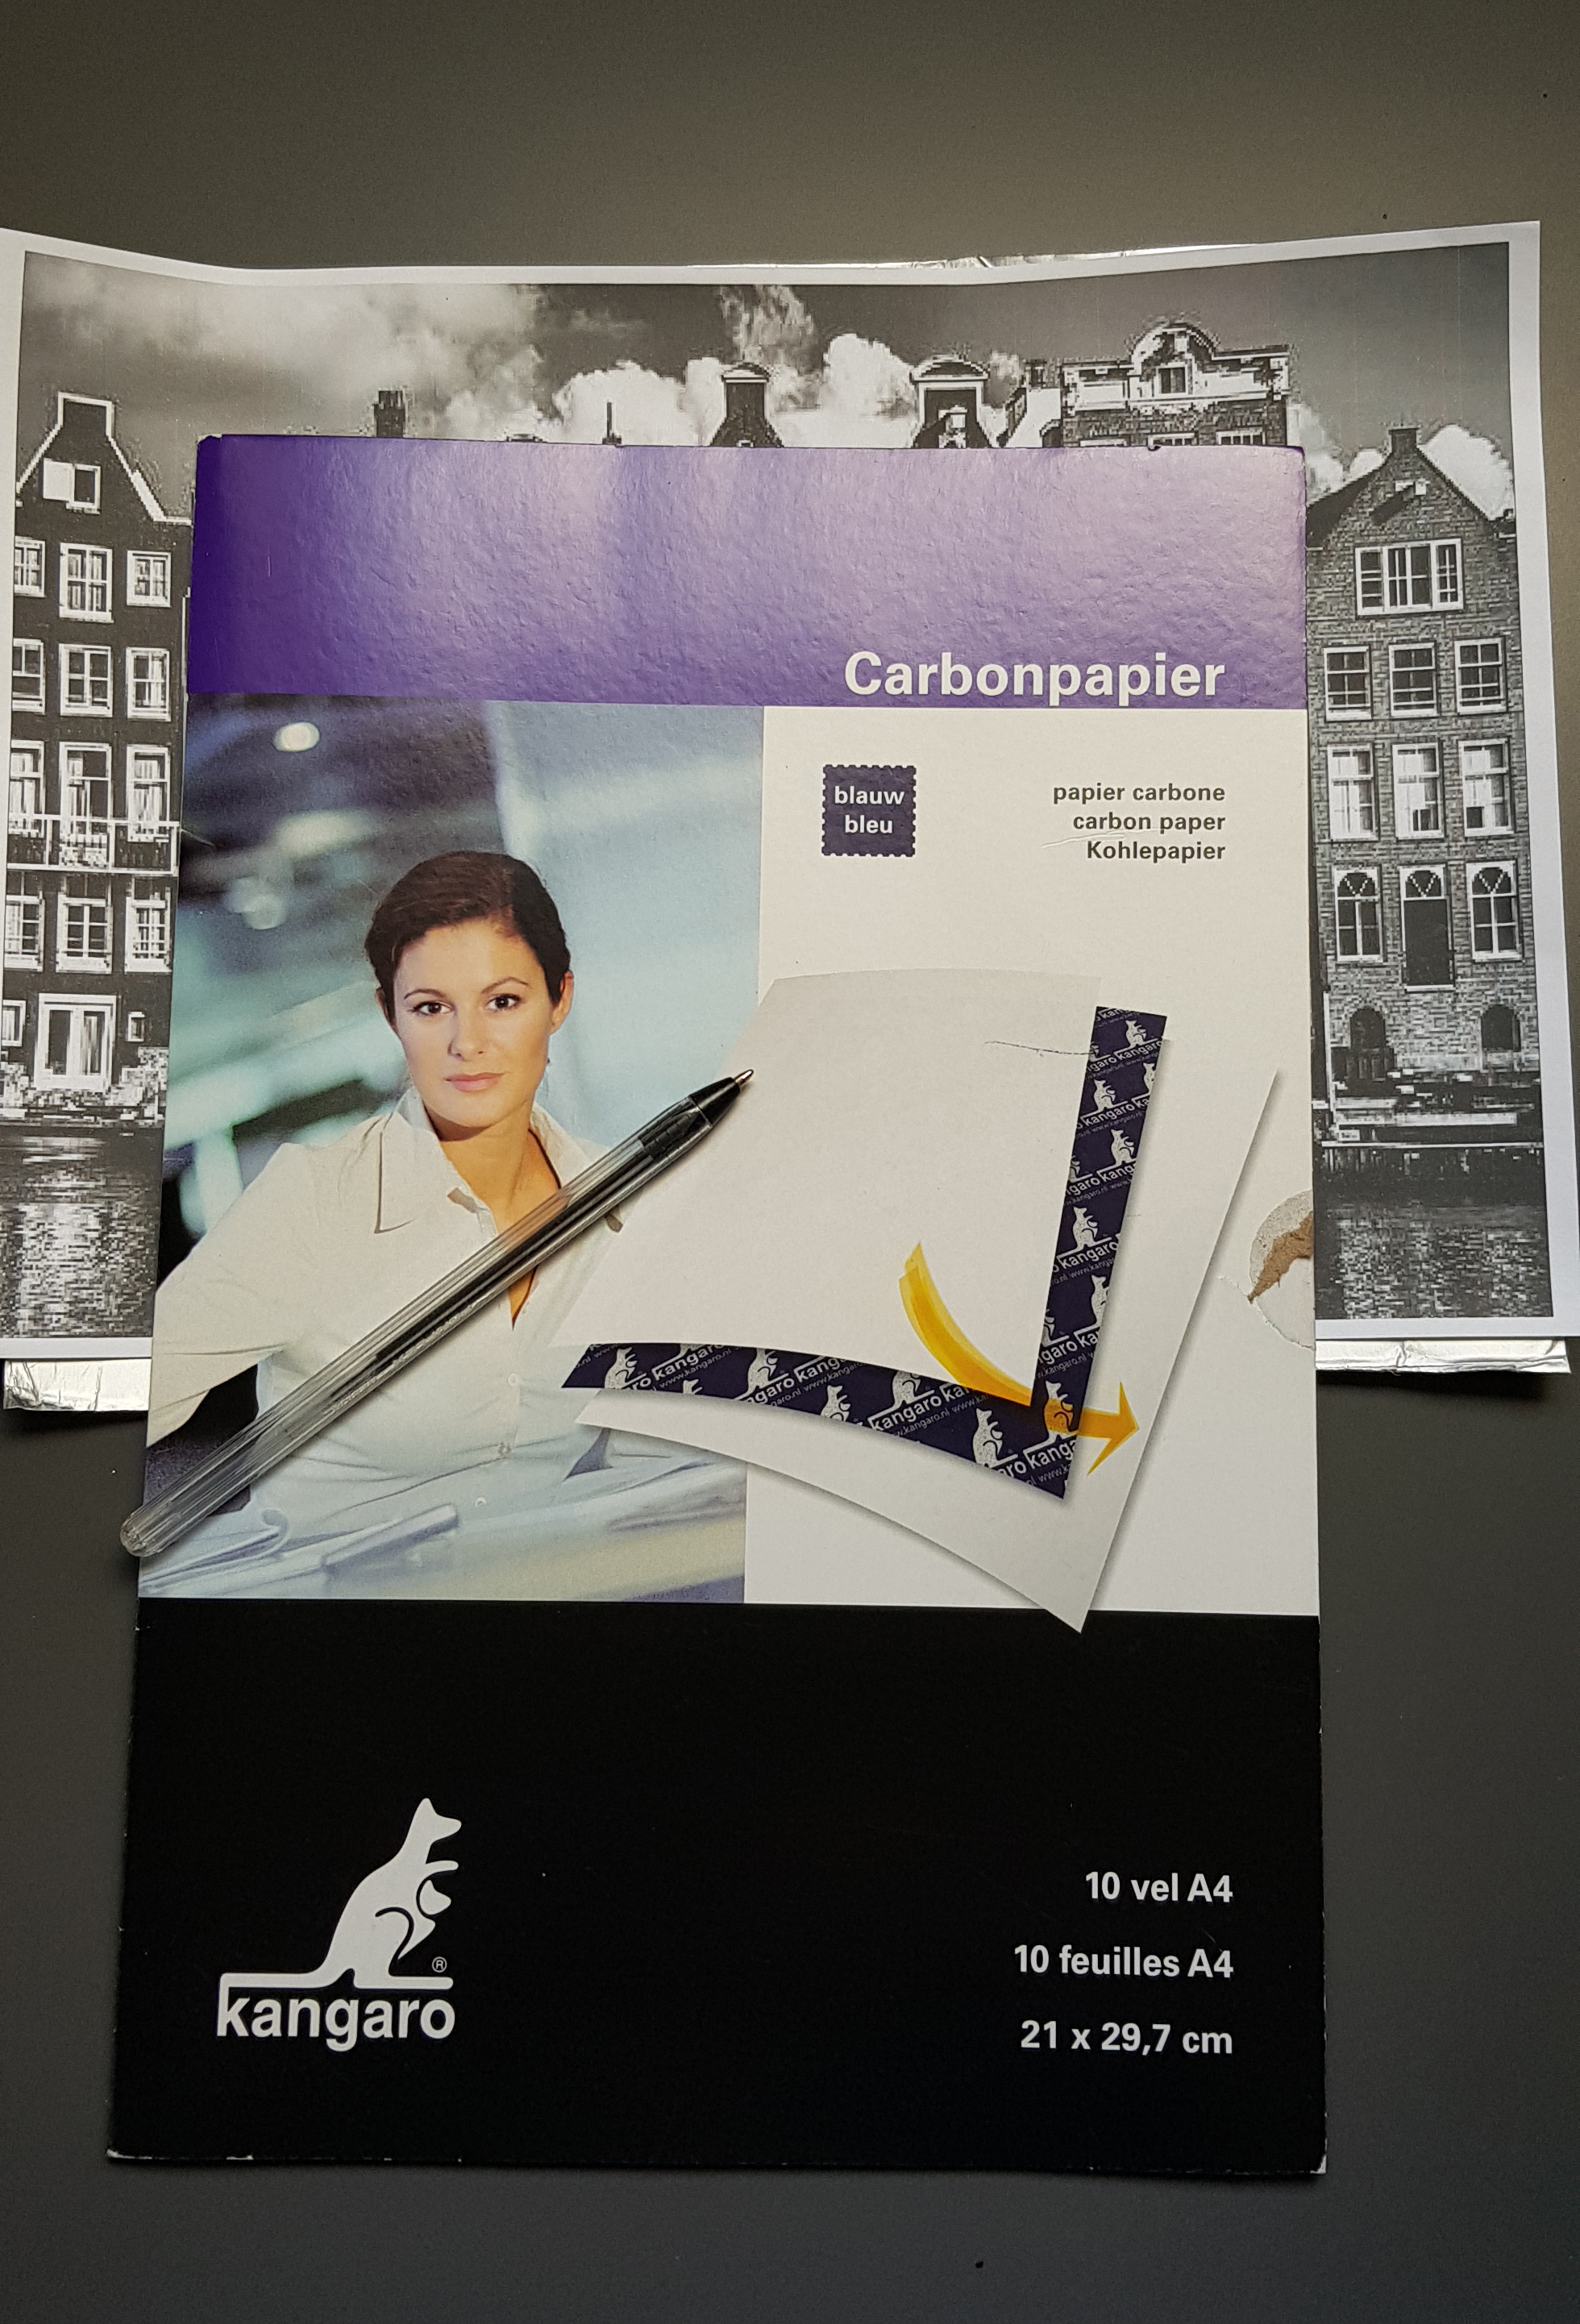
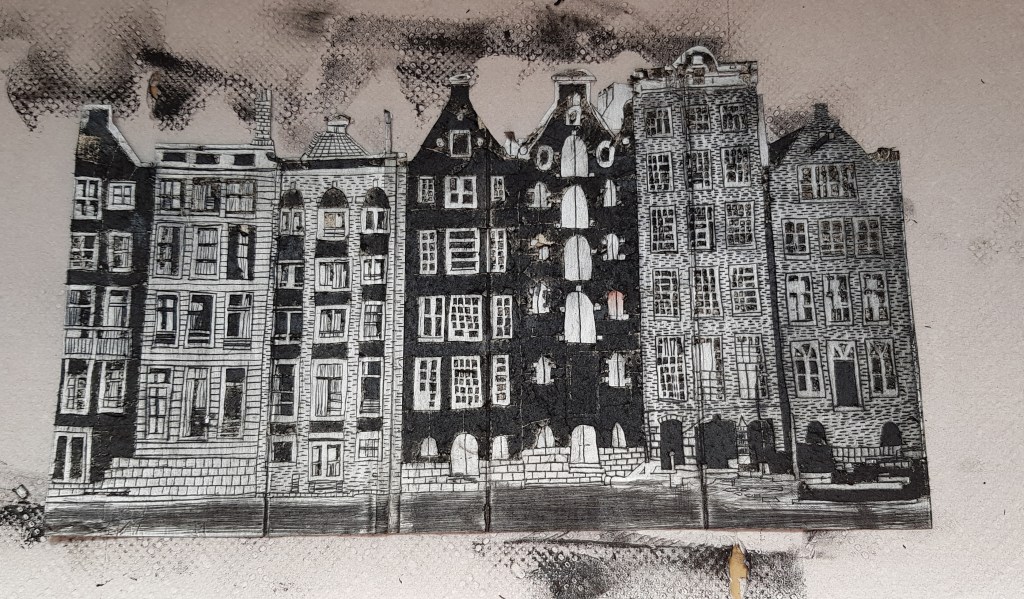
4. With a pen, trace along the drawing lines or lines of the image. Remove the image and carbon paper, but keep your image alongside as reference to your shading.
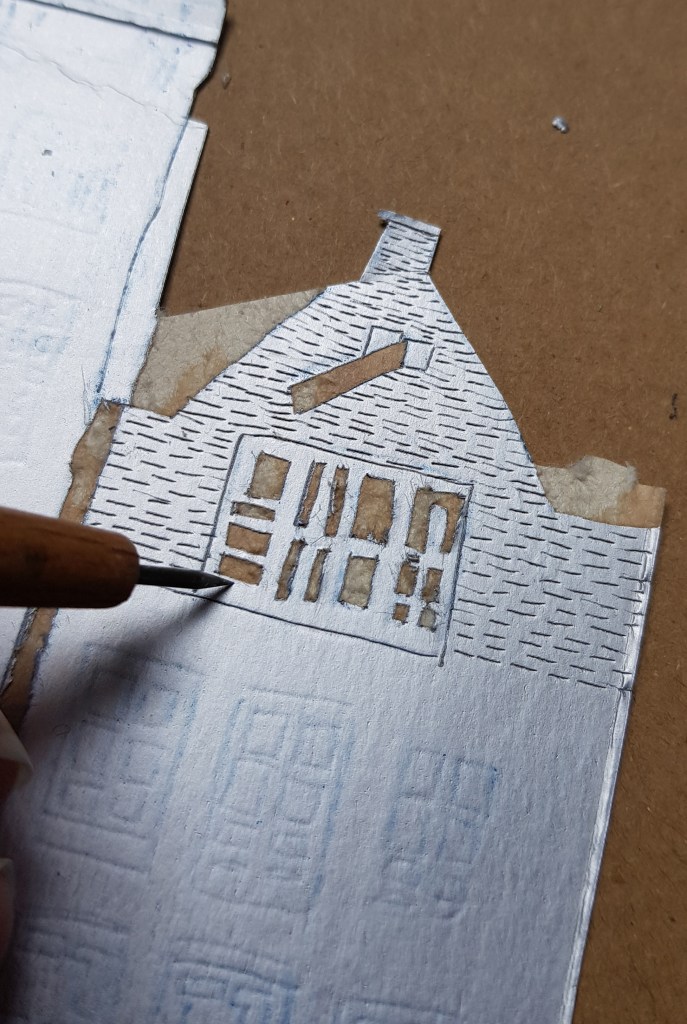
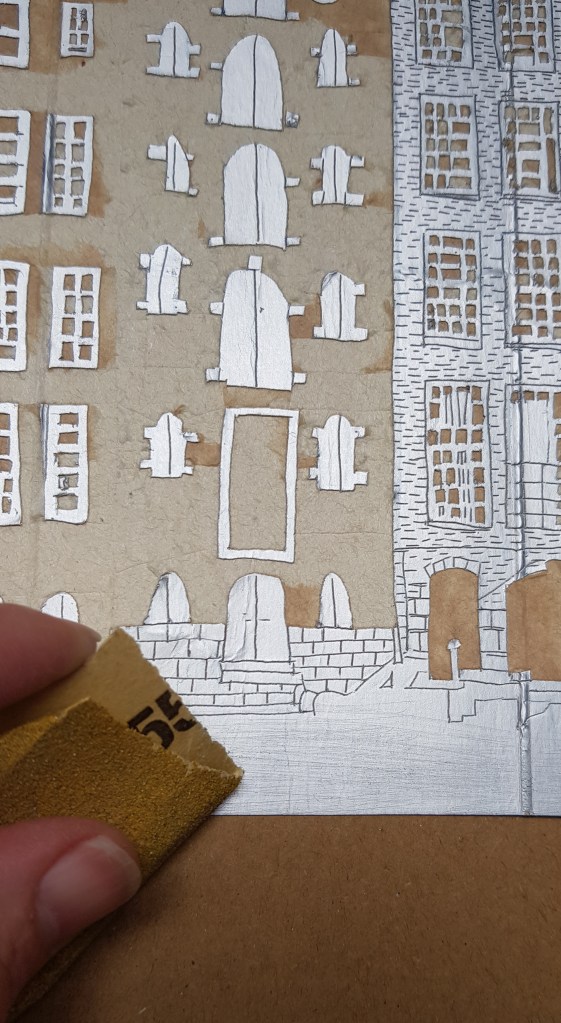
5. Use the etching tool or the sharp point of a craft knife and make engravings into the foil along your black sketch lines. If you want dark areas, make small hatch engravings. For pure black areas, the foil can be teared off. The areas that are not engraved are the light areas, the engraved areas will be darker and the cut-out areas will be the darkest. I have used sanding paper for the water areas to add a finer texture.
6. Cut the watercolor paper the size or larger than engraved image and soak it for 20 minutes in a flat rectangular bowl of water.
7. Also cut two cardboard pieces and two paper pieces the size of the watercolor paper.
8. Put the plastic gloves on and put a dollop or two of the ink onto the carton plate.
9. With circular movements rub the ink with your finger into the grooves and cover the whole plate. You may also use an old bank card to swipe the ink over the carton plate.
10. With the cloth, rub all the excess ink from the plate. Lastly with light movements and kitchen towel, wipe off any excess ink so that the silver parts are more clear.
11. Use the cotton swabs and wipe small highlight areas.
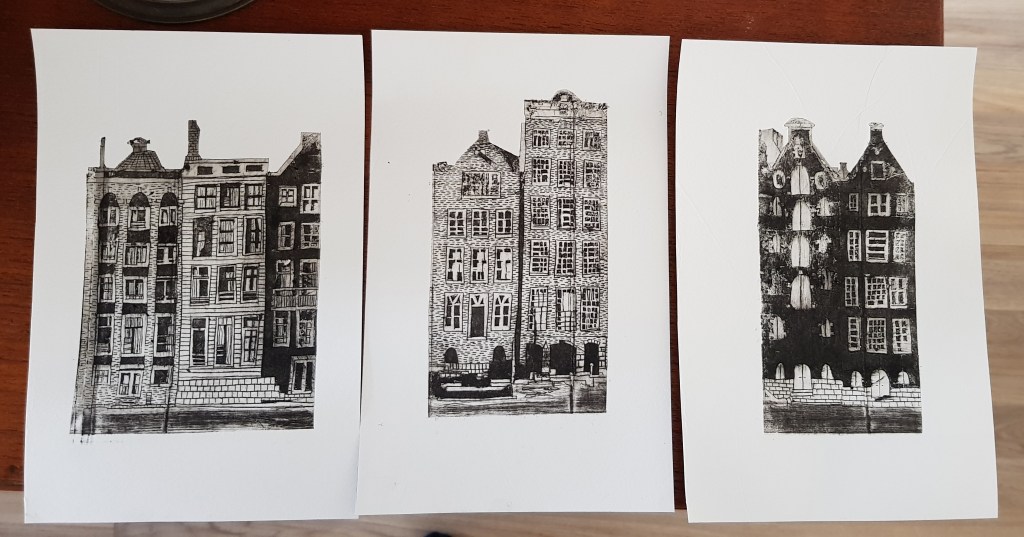
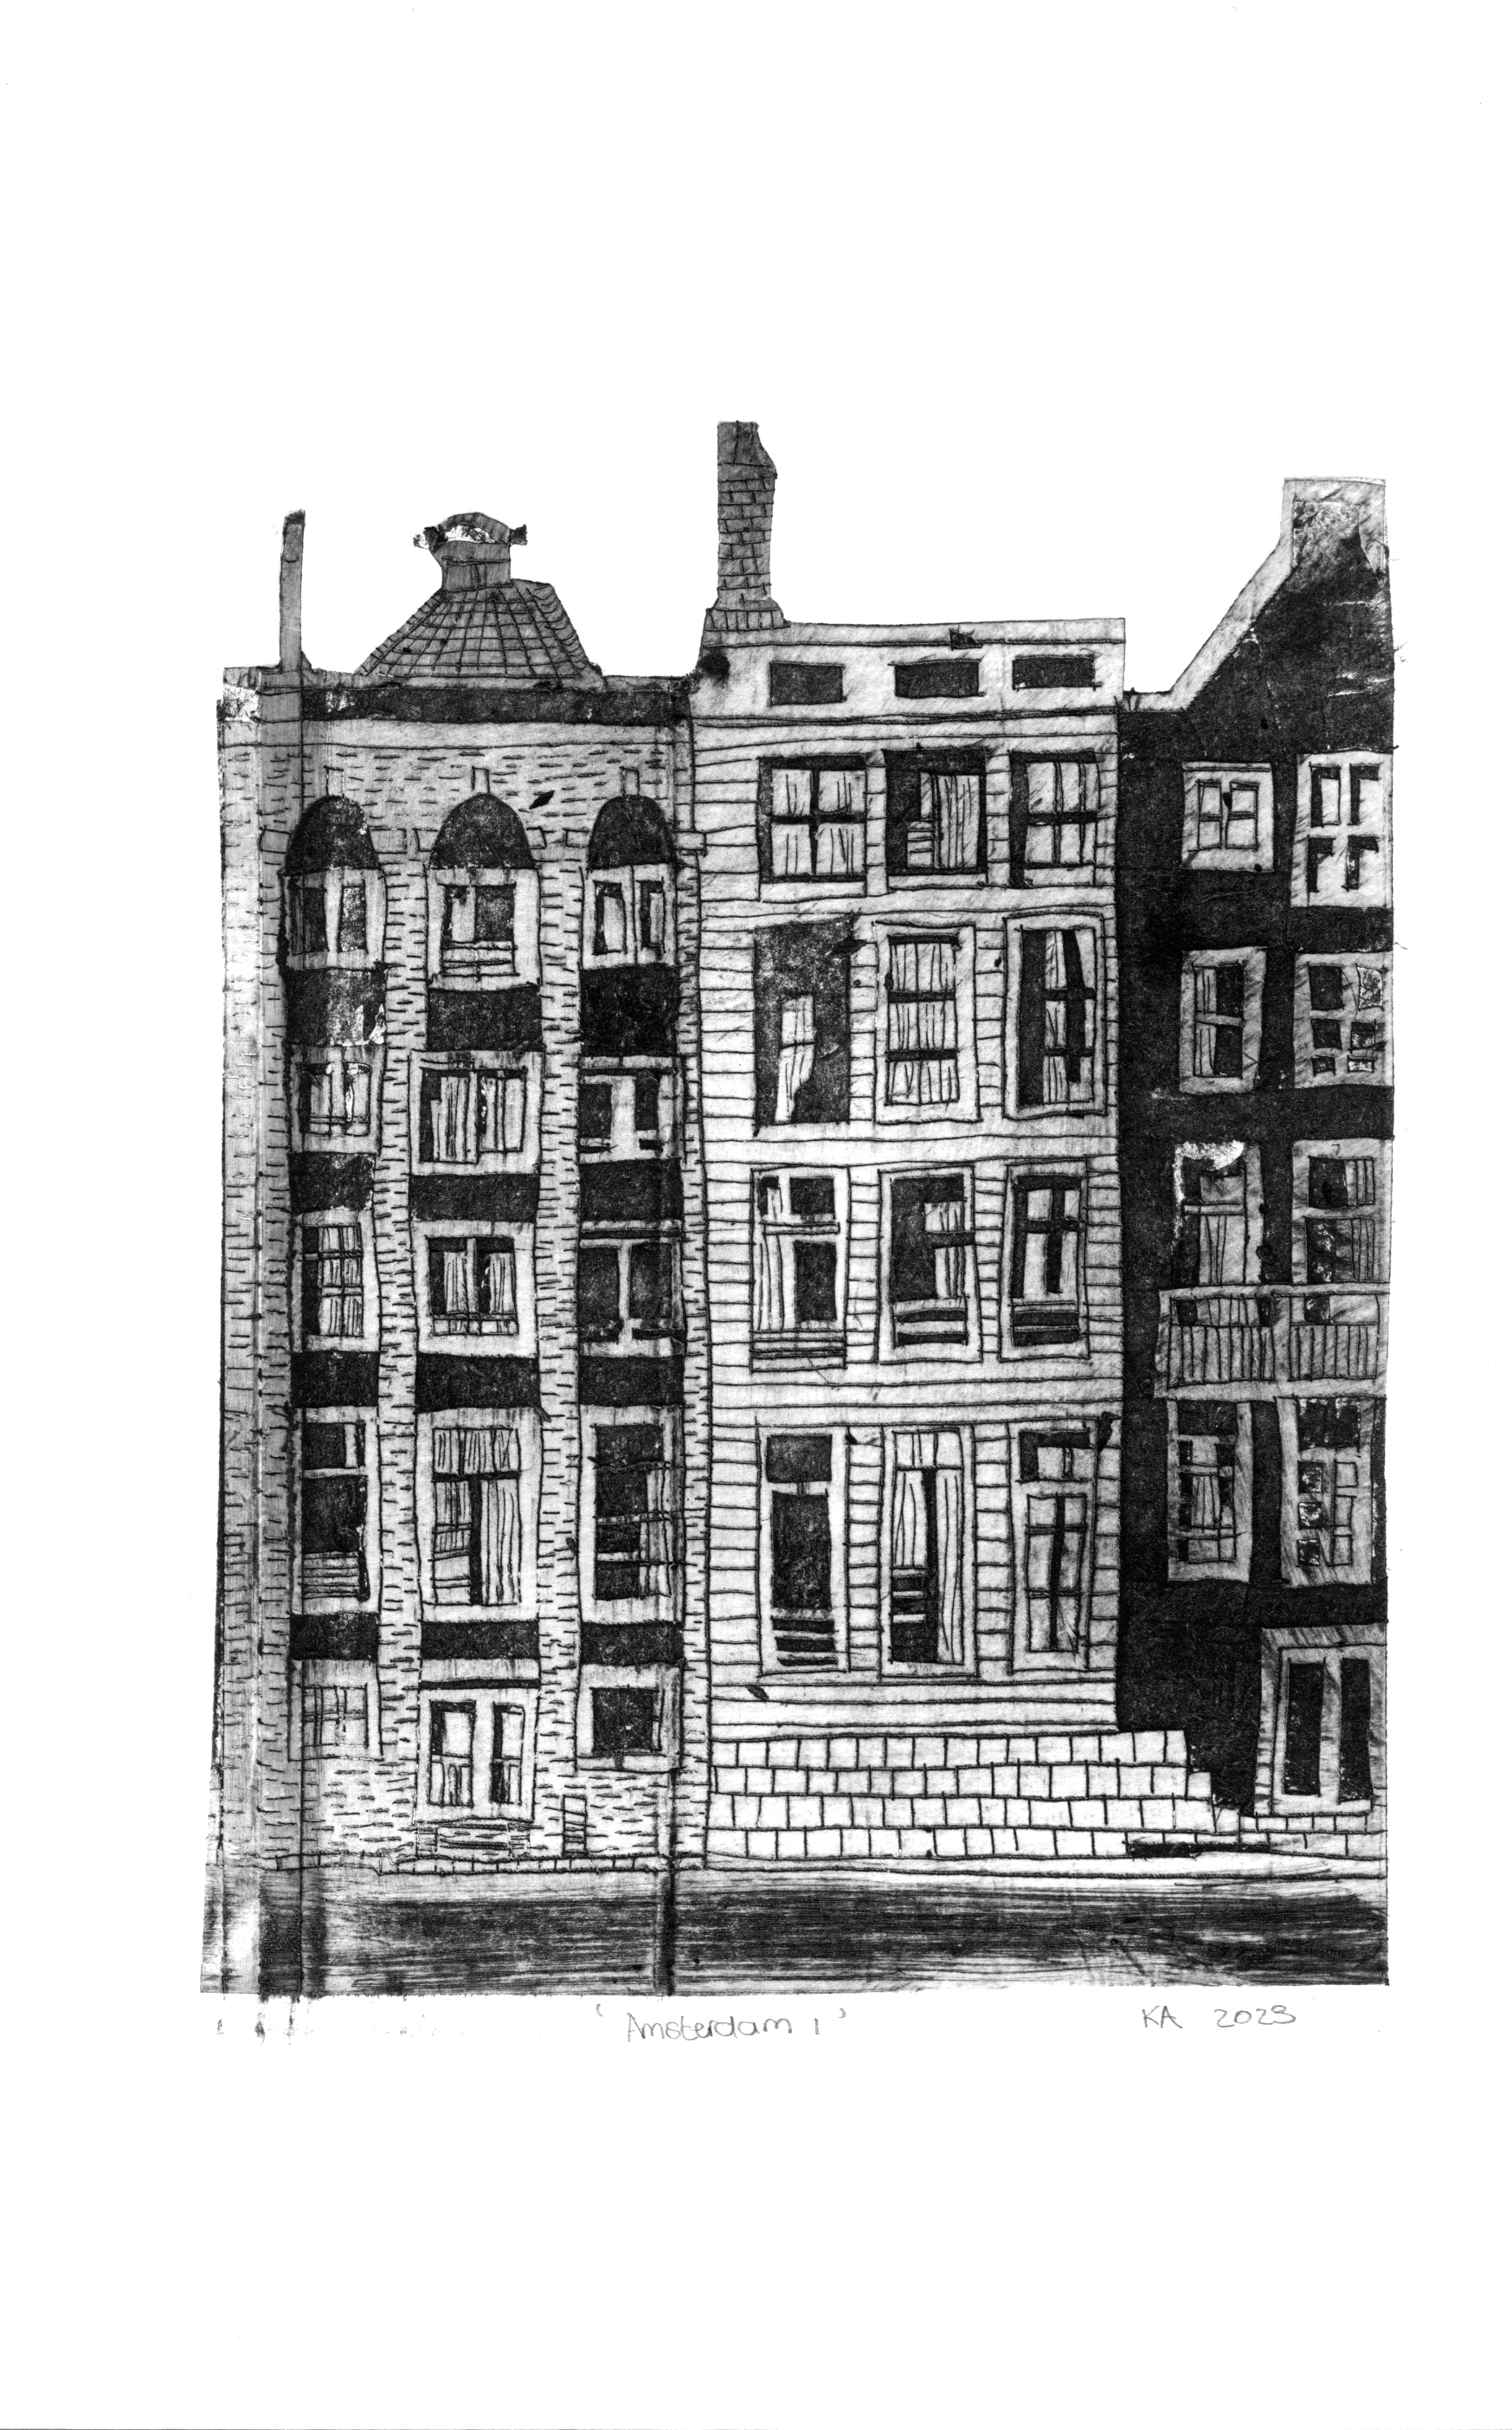
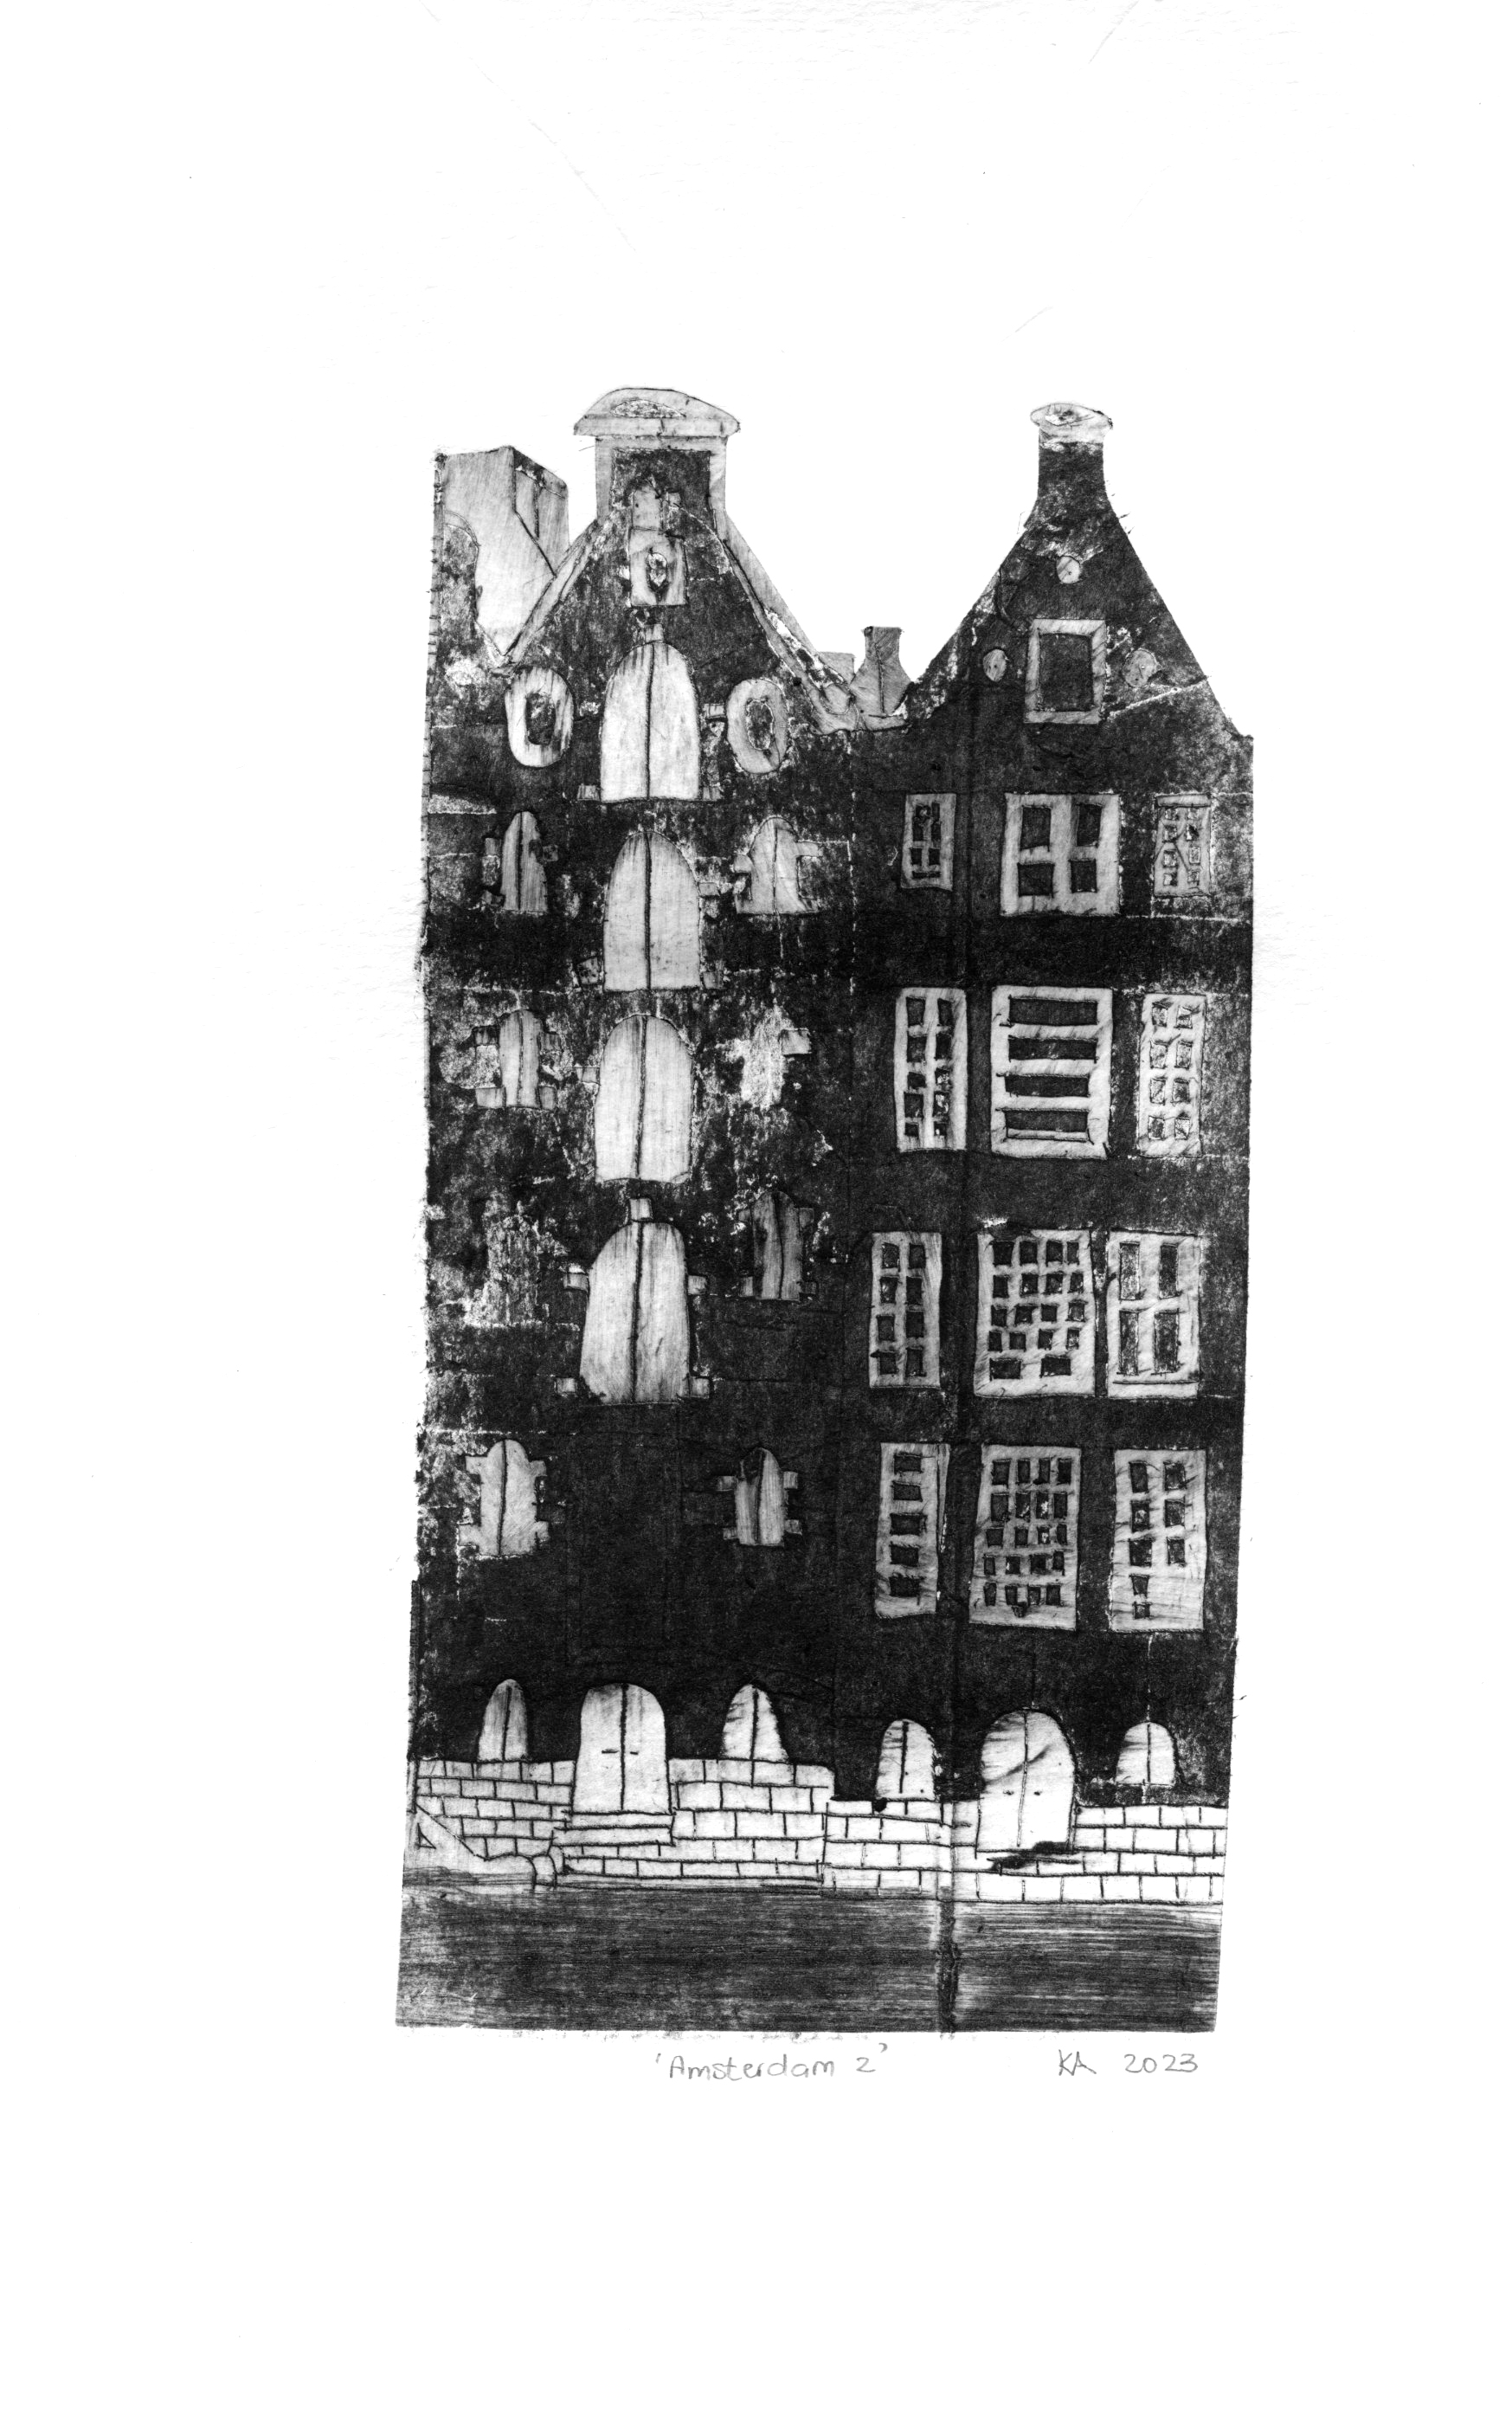
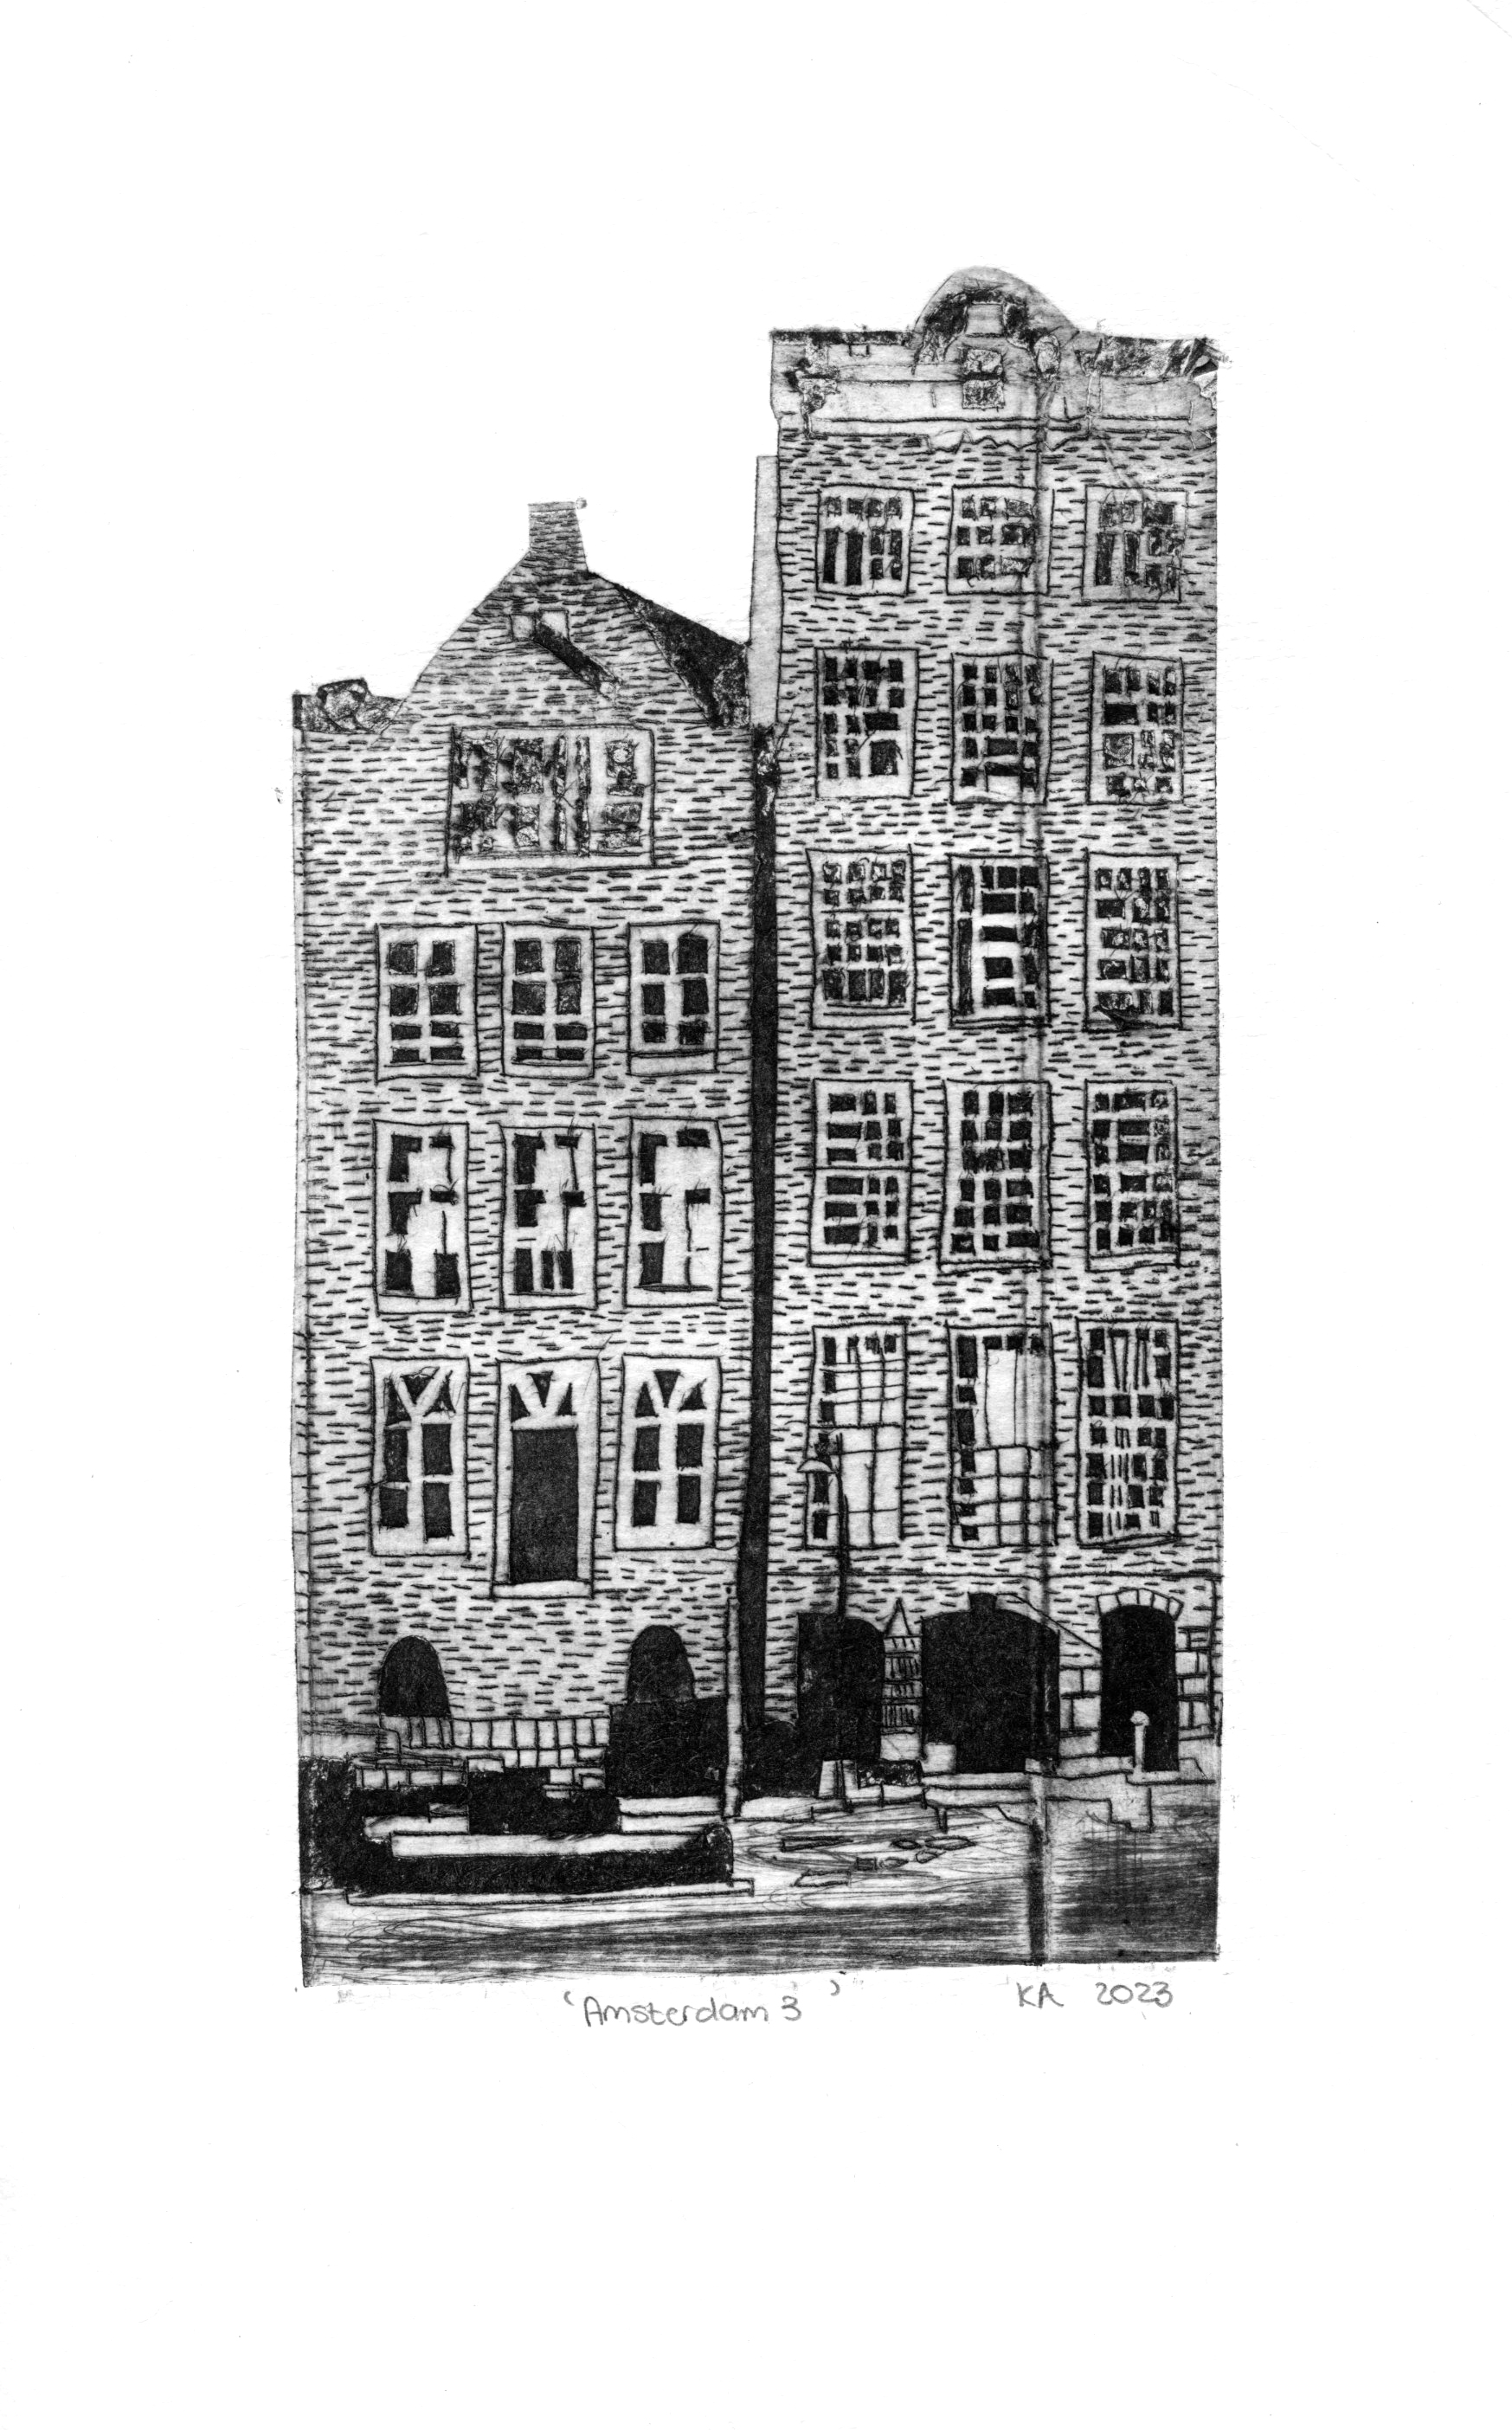
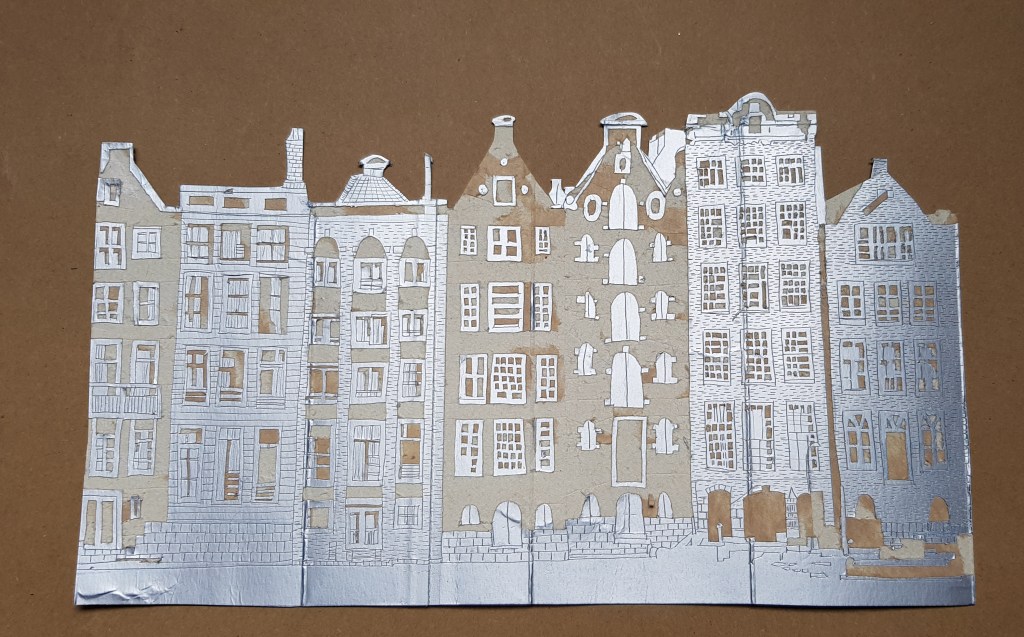
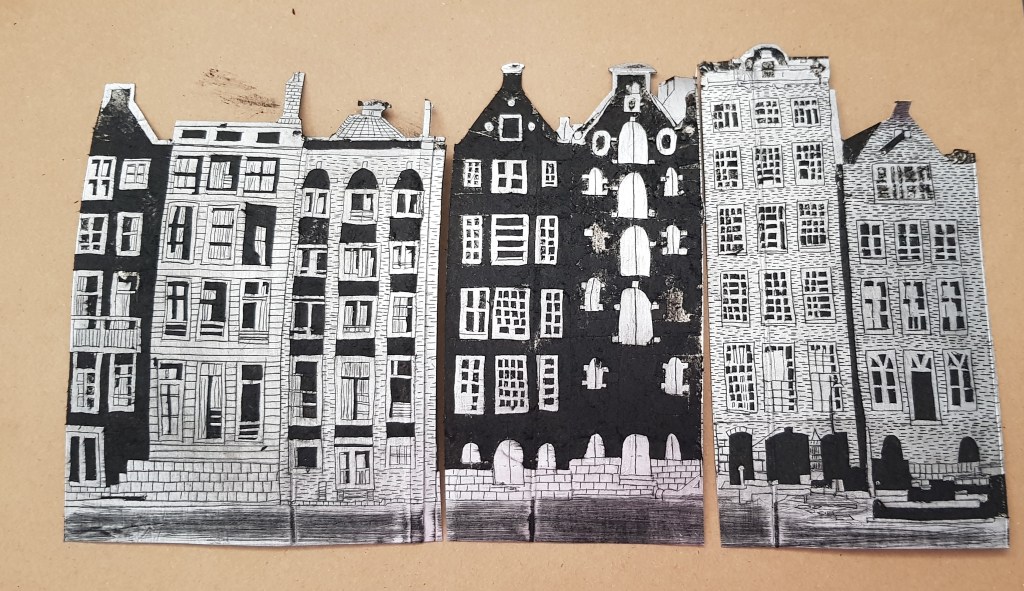
12. When you are happy with your plate, remove your gloves and wash your hands. You do not want any black fingerprints on your paper. I have decided to cut the image into 3 to make it easier for me to handle through the pasta machine.
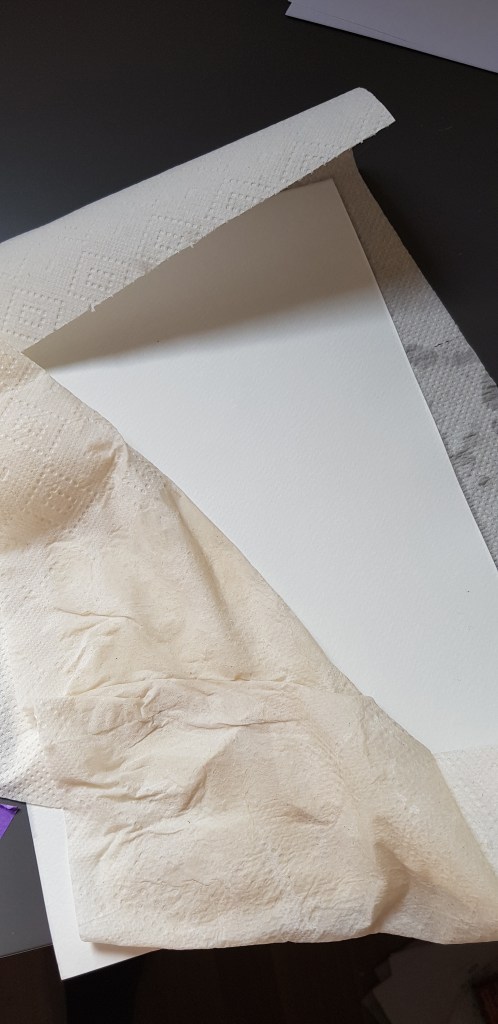
13. Remove the watercolor paper from the water and tap dry with kitchen towel. When you hold the paper against the light, there should be no shiny parts.
14. Stack the pieces as follows: a piece of cardboard, then a piece of paper on top of the cardboard, next the watercolor paper, then the plate – face down onto the watercolor paper, again a piece of paper and lastly a piece of cardboard.
15.Grip it firmly and feed it into the pasta machine while rolling it evenly through the machine.
16.Remove all the pieces and enjoy your first piece of art!!!!