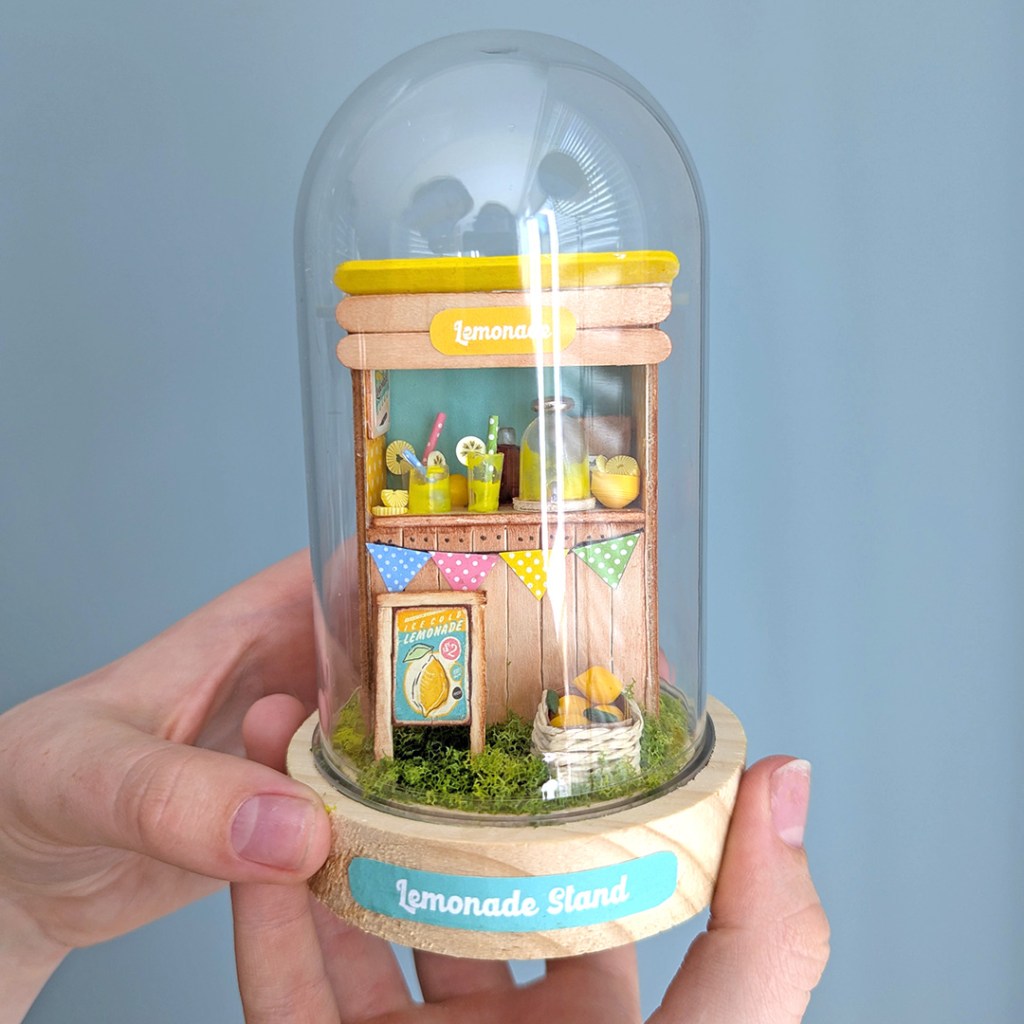
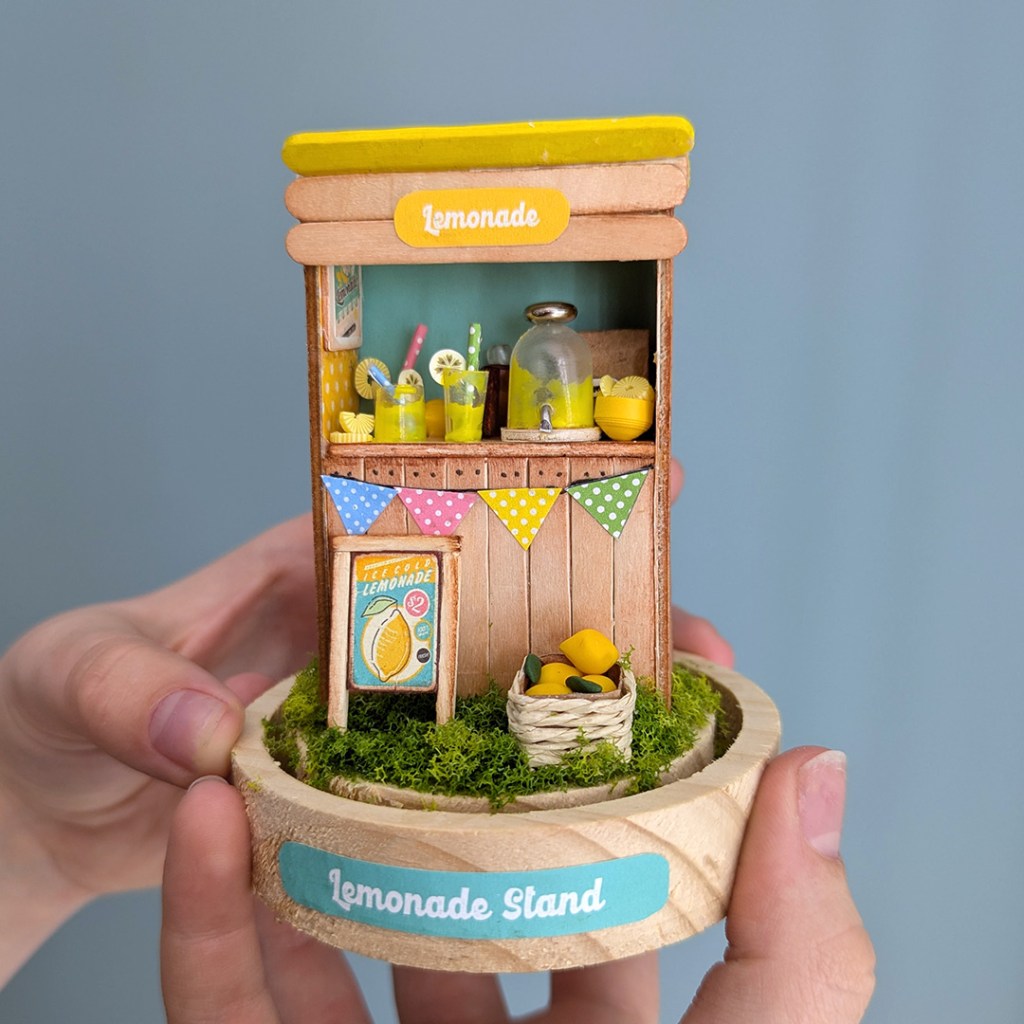
I brought this lovely craft dome from Hobbyflora and challenge myself to an extra miniature build to fit this dome. My inspiration for the color scheme and idea were spring in the air and all the Easter products in store. What is more refreshing dan ice cold lemonade on a hot summer’s day?
If you are wondering how I made the glasses and the lemonade decanter…I have used plastic pipettes, cut into smaller bits and painted with a mixture of yellow acrylic paint and wood glue. The lemons as well as the slices are all polymer clay.
It is always fun to search for the right materials to achieve a certain realistic effect. I loved this one for the fun of it and it was really a perfect weekend craft. And with the dome, the craft is also dust-free.
As a professional hobbyist and crafter, you have every excuse to ‘play’ and call it ‘work’ at the same time. I have build quite a lot of miniature houses the last couple of years, but most of them as craft kits. As a creative person, it is not that satisfying to build another person’s idea or concept. I always find myself changing or bettering existing ideas after I have learned the basics of the craft.
I thrive on creative challenges and problem-solving and like to develop instead of follow instructions. As with every hobby I attempt, it ends up in making my own designs. For now I am absolutely hooked on developing miniatures.
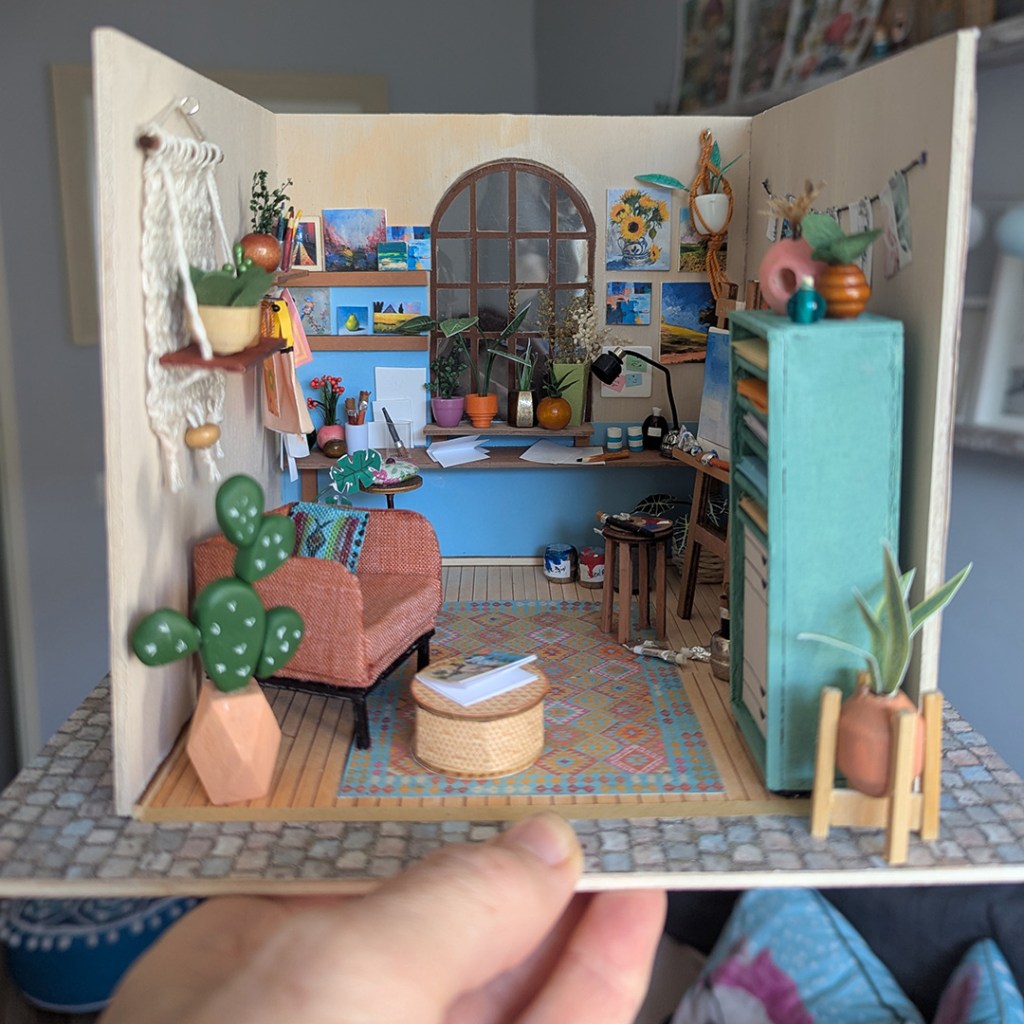
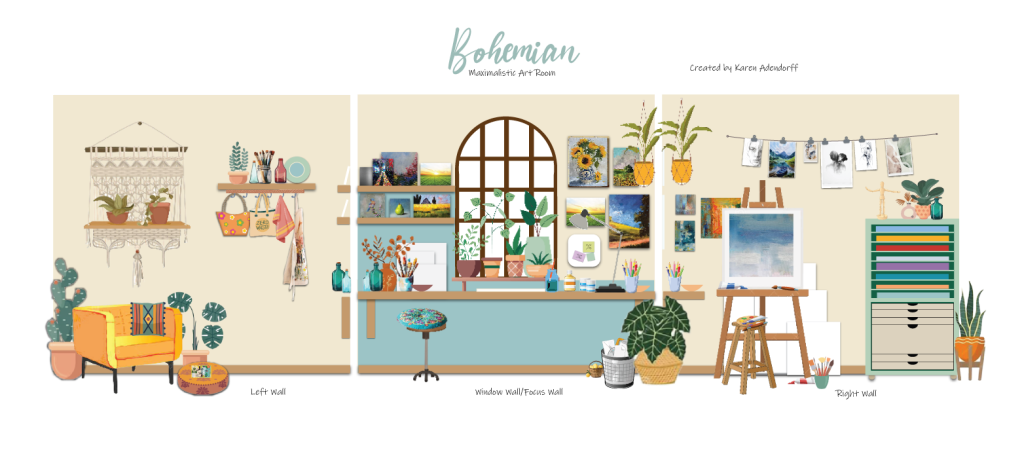
My personal challenge with this Bohemian Art room, was to draw up a visual plan for the room and then to build it as closely as possible with the materials I already had in my studio. The only materials I bought, were wooden board for the walls and furniture and some polymer clay. Some of the materials were leftovers from previous miniature kits. Everything is maybe not as perfect as what I wanted it to be, but I am happy with the result and that I actually achieved my personal goal.
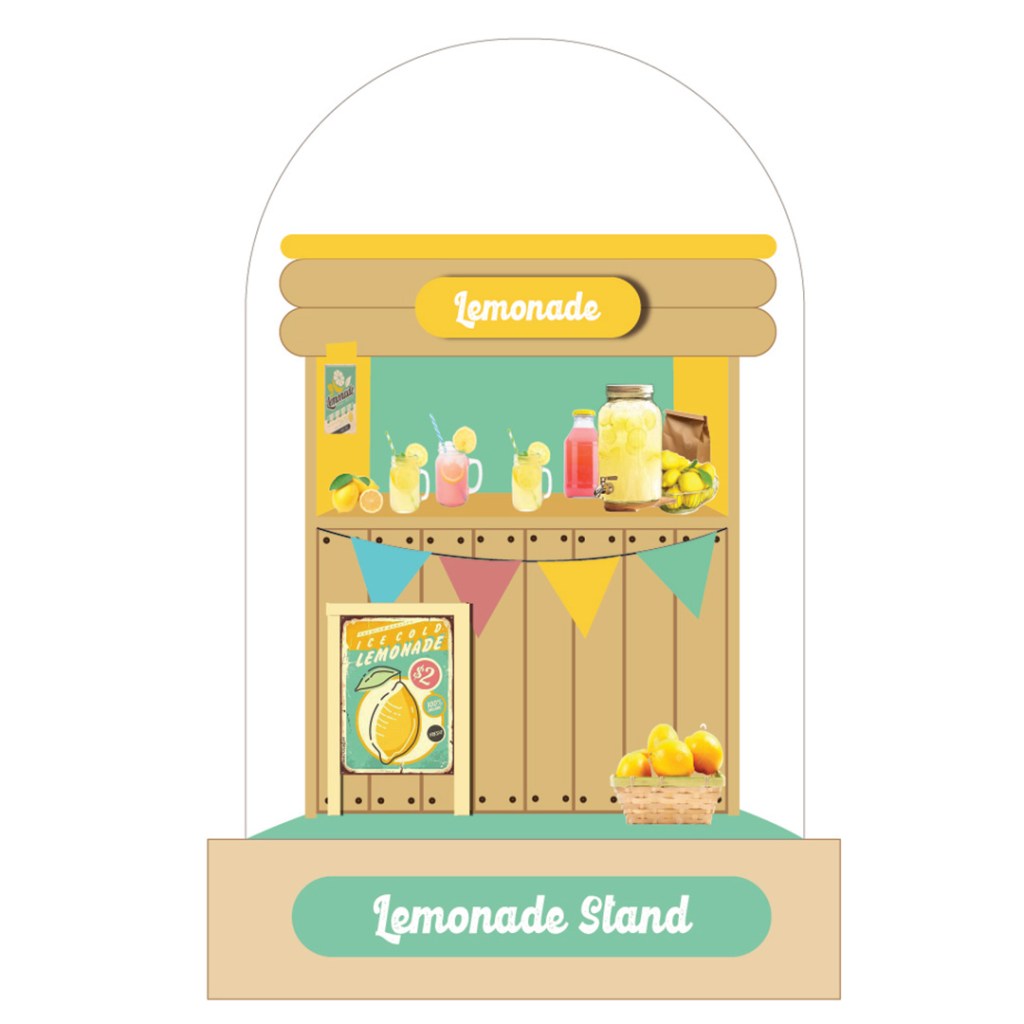
This is how my initial planning looked like. I draw it in Adobe illustrator:
Most of the paintings and the leaves, the carpet, the floors, the bags, cloth, apron, plate, magazine, waste bin and ottoman were designed in illustrator and then printed. Please note that the artwork are images I downloaded from the internet as this project is for personal use and not selling. If I would have sold it, the artwork would have been my own or copyright free.
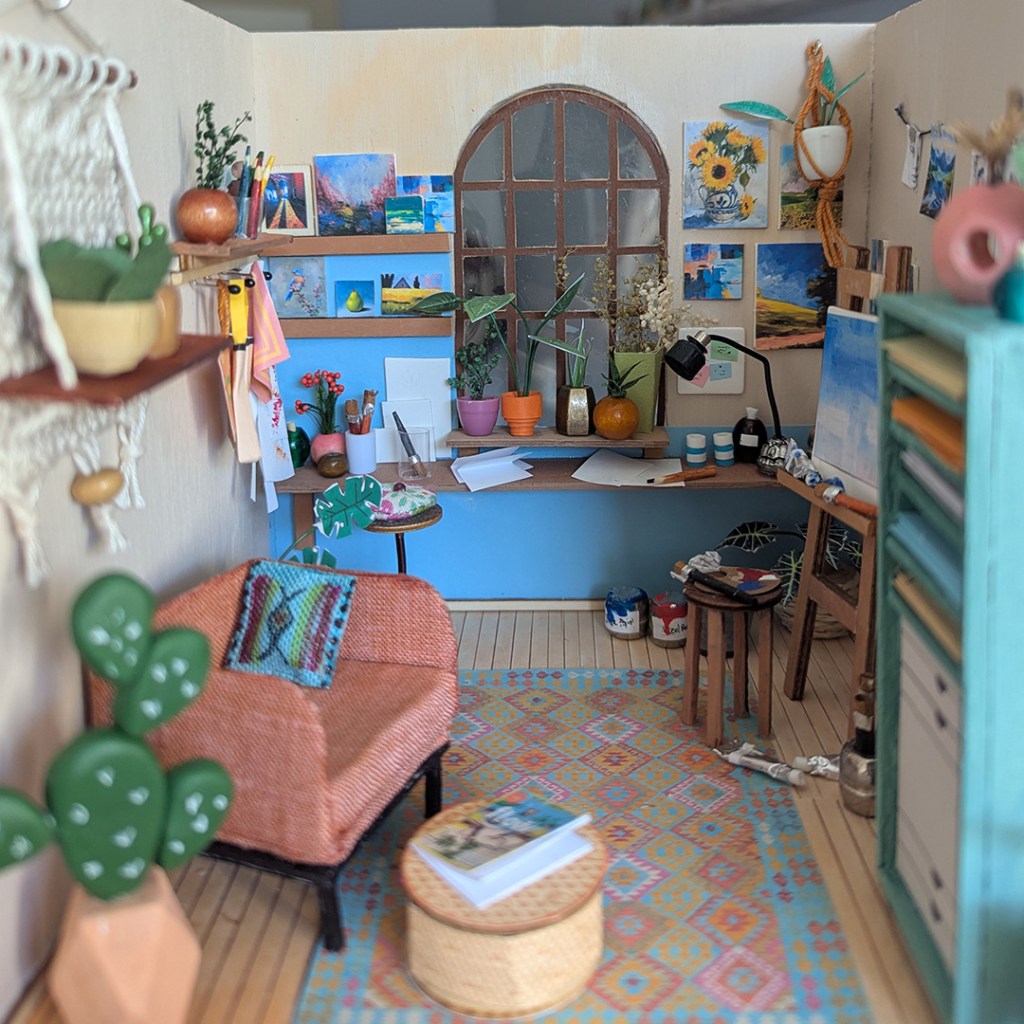
The left wall:
The cactus was done in polymer and all the other plants were paper prints, which I then cut out and glued on florist wire. I have used beads for most of the pots and those sizes I did not have, I have quilled. The chair is done with cardboard and fabric and the macramé is actually crochet that looks like macramé .
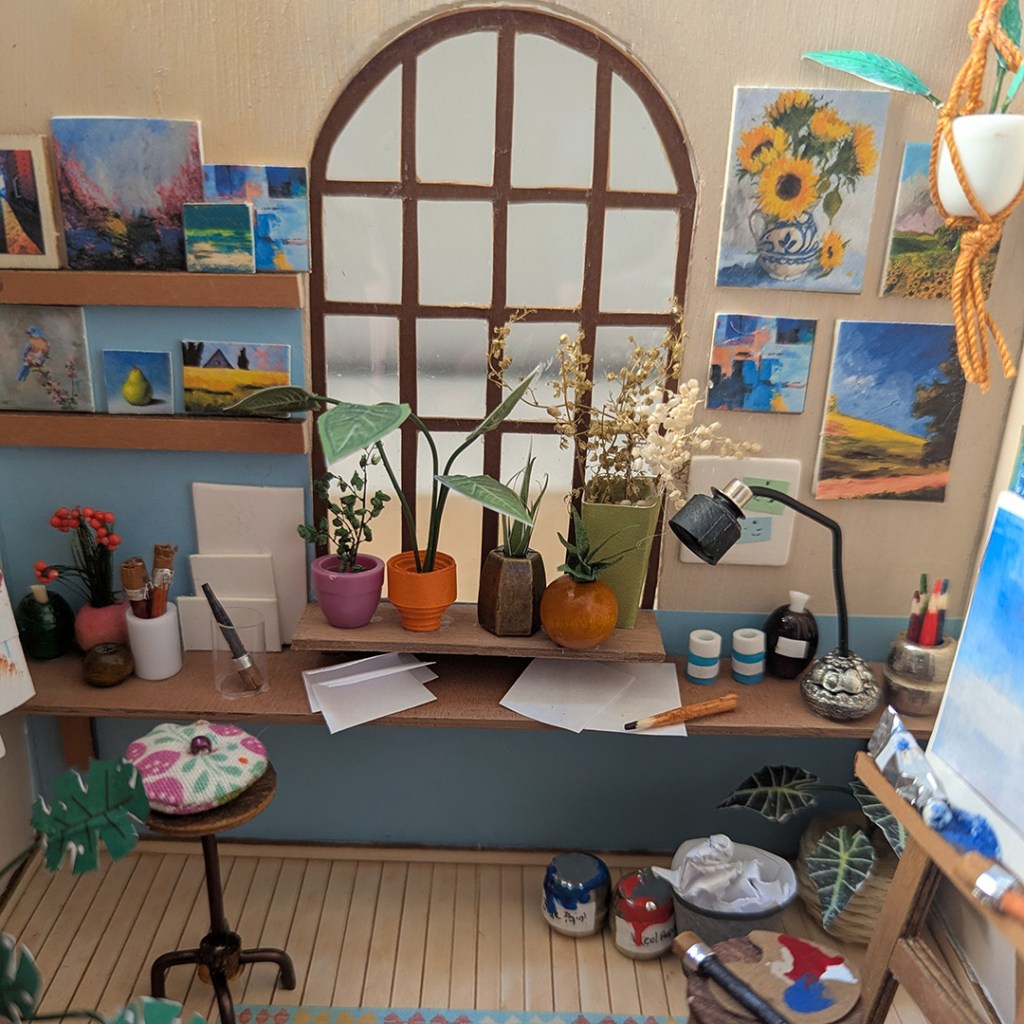
Centre:
The brushes and pencils are made with wooden toothpicks cut shorter and colored by markers. I have used paper and adhesive foil for the brushes as well. The paint cans are silver beads with foil lids and the foil was also used for the paint tubes. The desk lamp is a combination of beads, black wire and paper quilling for the lampshade. You will notice two small blue paint tubs – these are shrink beads glued together.
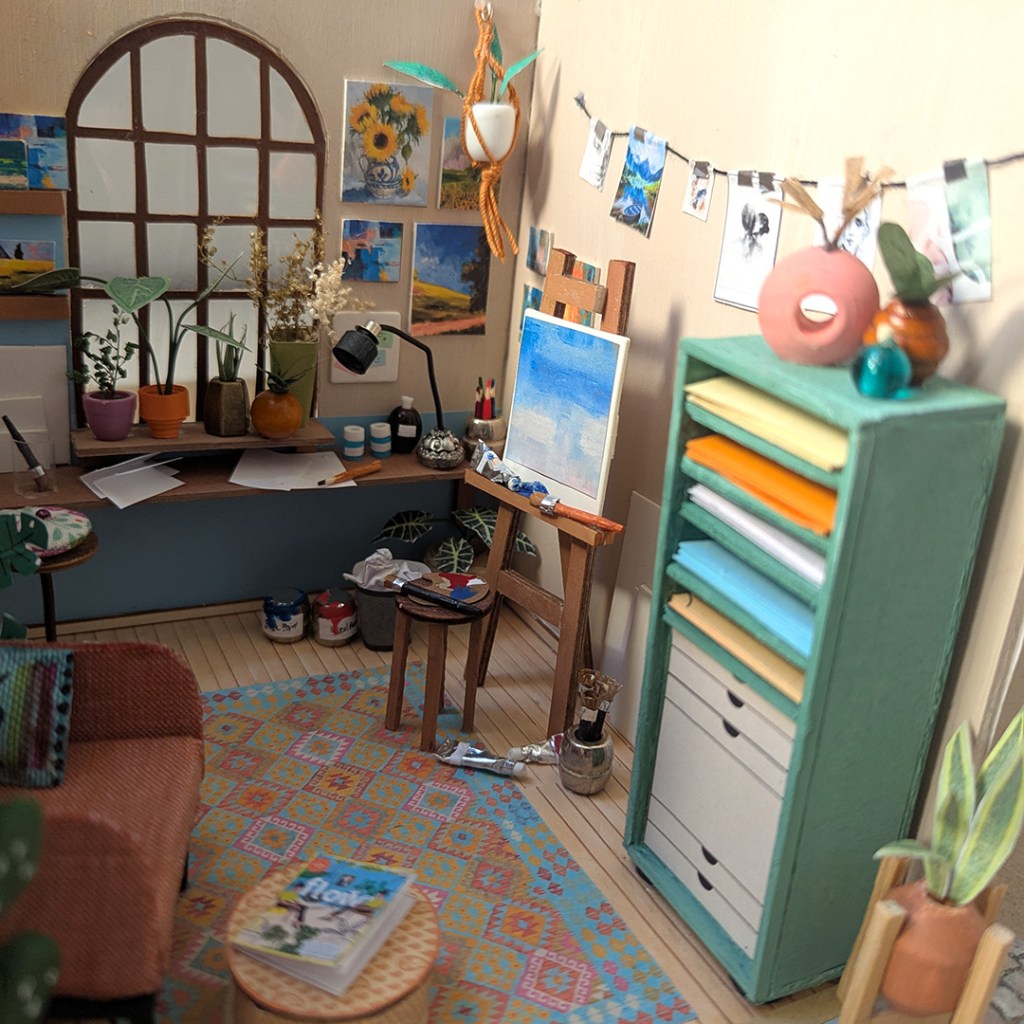
Right wall:
The cabinet is made of wood panels glued together, but the lower part is a printout glued onto the wood to create the drawer effect.
I hope you like it and I am already busy with the next project in a glass dome!
I would like your comments or suggestions on my project and also if you would like to have tutorials and printables for my future projects.